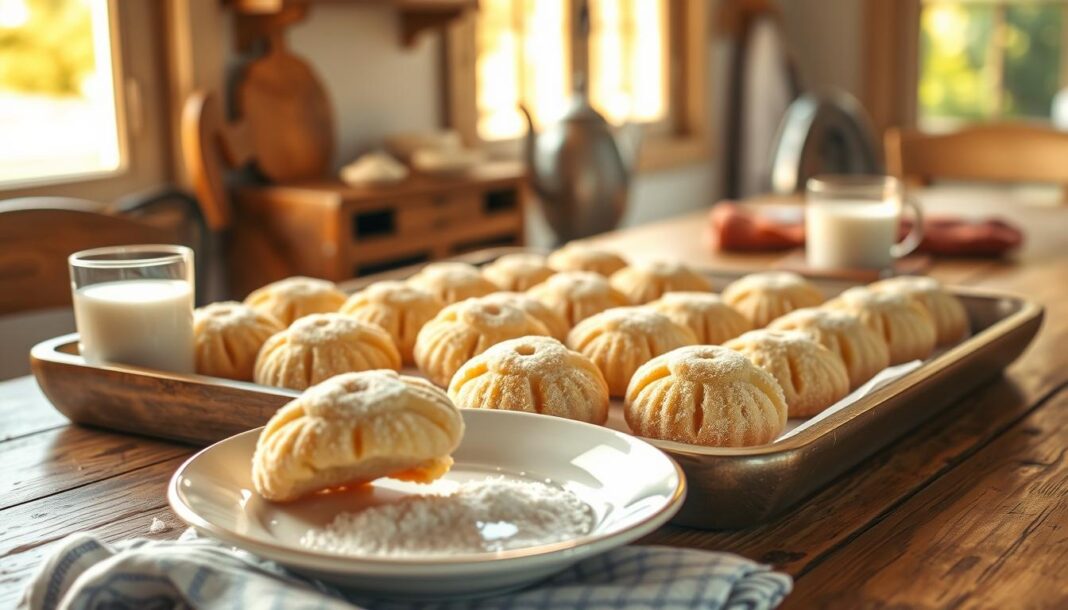
Welcome to our comprehensive guide on creating the perfect sand cookies, a delightful treat known for its distinctive crumbly texture that melts in your mouth. At Historical Foods, we’ve perfected this classic recipe through extensive testing, bringing you expert baking tips to ensure success every time.
Sand cookies, sometimes referred to as sand tarts, are essentially a type of shortbread with a characteristic “sandy” texture. With just a handful of basic ingredients and careful technique, you’ll be able to create these buttery delights with confidence.
Our detailed instructions cover everything from ingredient selection to storage recommendations, ensuring your cookies turn out perfectly every time.
Key Takeaways
- Master the art of making sand cookies with our expert tips.
- Understand the importance of ingredient selection and mixing methods.
- Learn precise baking temperatures and times for perfect cookies.
- Discover storage recommendations to keep your cookies fresh.
- Enjoy the simplicity of this classic shortbread recipe.
What Are Sand Cookies?
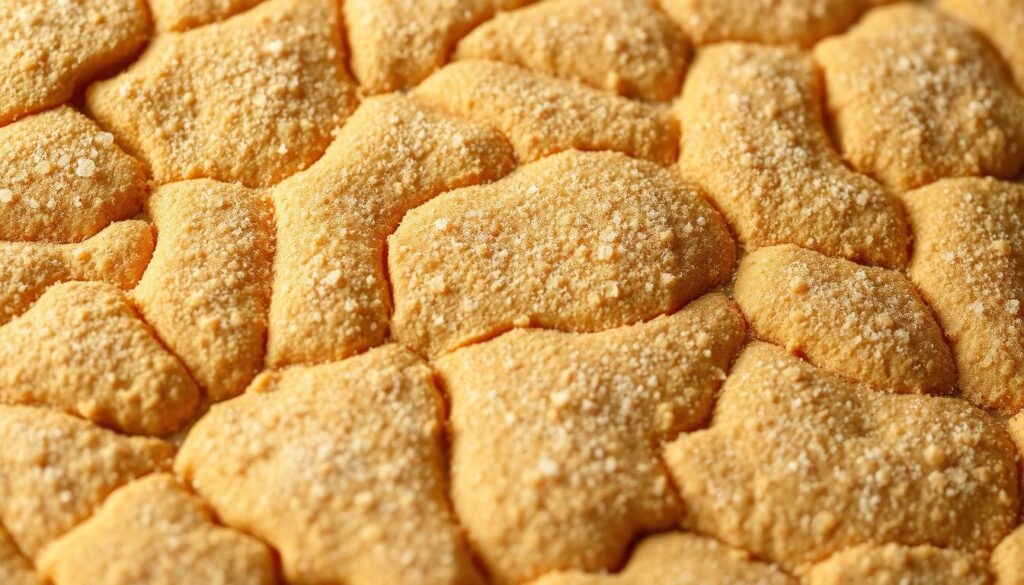
The simplicity and elegance of sand cookies have made them a favorite among cookie enthusiasts, with their origins rooted in traditional European baking. At their core, sand cookies are a type of shortbread cookie characterized by their distinctive crumbly, melt-in-your-mouth texture that resembles fine sand.
Sand cookies have been a part of European baking traditions for centuries, with variations appearing across multiple cultures. They are known for their high butter-to-flour ratio and minimal liquid ingredients, creating a dough that breaks into buttery bits with each bite.
The Origin of Sand Cookies
The Dutch are credited with originating sand cookies, calling them “Zandkoekjes.” This name reflects their crumbly nature and sand-like texture. The tradition of baking these cookies has been passed down through generations, with various cultures adapting the recipe to their taste.
| Culture | Name | Characteristics |
|---|---|---|
| Dutch | Zandkoekjes | Crumbly texture, rich butter flavor |
| French | Sablés | Delicate, sandy texture, often flavored |
| German | Heidesand | Crunchy edges, tender center, vanilla flavor |
Why They’re Called “Sand” Cookies
The name “sand cookies” or “sand tarts” comes from their texture, which is similar to fine sand. This texture is achieved through a high ratio of butter to flour and minimal leavening agents, resulting in a cookie that crumbles easily and melts in your mouth.

The addition of sugar, often in the form of cinnamon sugar on top, enhances the flavor without altering the characteristic texture. This balance of sugar and butter makes sand cookies irresistible.
Essential Ingredients for Perfect Sand Cookies
Making perfect sand cookies begins with understanding the role of each ingredient. At Historical Foods, we emphasize the importance of selecting high-quality ingredients to achieve the best results.
Key Ingredients and Their Purpose
For making these crisp cookies, you need just a few simple ingredients at room temperature: unsalted butter, soft white sugar (caster sugar), all-purpose flour, egg yolk, and vanilla sugar. The beauty of sand cookies lies in their simplicity—they require just a handful of basic ingredients, but the quality of each component significantly impacts the final result.
Unsalted butter serves as the foundation, providing both structure and flavor. We recommend using high-quality butter with at least 82% fat content for the richest taste and optimal texture.
Ingredient Quality Tips
The quality of ingredients is crucial. For instance, using all-purpose flour that is fresh and has not been stored for too long ensures better texture. Similarly, pure vanilla extract rather than artificial flavoring makes a noticeable difference in the final taste profile.
| Ingredient | Purpose | Quality Tip |
|---|---|---|
| Unsalted Butter | Provides structure and flavor | Use high-quality butter with at least 82% fat content |
| All-purpose Flour | Provides structure | Use fresh flour for better texture |
| Vanilla Sugar | Adds depth of flavor | Use pure vanilla extract for the best flavor |
For a detailed recipe, you can visit our partner’s page on Dutch Sand Cookies Recipe.
Our Classic Sand Cookie Recipe
Discover the secret to perfect sand cookies with our expert-tested recipe. Our classic sand cookie recipe has been refined to achieve the perfect balance of flavor and texture—crisp edges with a tender, melt-in-your-mouth center.
Ingredient List
To make these delicious cookies, you’ll need the following ingredients: 1 cup (226g) unsalted butter at room temperature, 1 cup fine sugar, 2 cups all-purpose flour, 1 egg yolk, 2 teaspoons vanilla extract, and ½ teaspoon salt. Ensuring your butter is at room temperature and using high-quality flour will significantly impact the final texture of your cookies.
Equipment Needed
Essential equipment for this recipe includes measuring cups and spoons, an electric mixer (stand or hand), a mixing bowl, plastic wrap, baking sheets lined with parchment paper, and a cooling rack. Having the right tools will make the process smoother and more efficient.
Step-by-Step Mixing Instructions
Begin by creaming the butter and sugar together using your mixer on medium speed until the mixture becomes light and fluffy—this typically takes 3-4 minutes and is crucial for incorporating air into the dough. Add the vanilla extract and egg yolk, mixing until well combined before gradually adding the flour and salt on low speed. Be careful not to overmix once the flour is incorporated. The cookie dough should be firm but pliable. Wrap the dough in plastic wrap and refrigerate for at least one hour. After chilling, roll dough into small balls and place them on prepared baking sheets. Bake in a preheated 350°F (175°C) oven for 12-15 minutes, or until the edges are just beginning to turn golden.
Expert Baking Tips for Sand Cookies
To achieve perfect sand cookies, it’s crucial to master a few expert baking tips that will elevate your baking game. Baking the perfect sand cookies requires attention to detail and a few insider secrets.
Proper Dough Handling Techniques
Proper dough handling is perhaps the most critical factor in achieving perfect sand cookies. The high butter content makes the dough temperature-sensitive and requires special attention. Always keep your dough cold throughout the entire process. After initial mixing, chill it for at least an hour, and don’t hesitate to return it to the refrigerator or freezer if it becomes too soft during handling. Roll out the dough between two parchment paper sheets to prevent sticking.
Temperature and Timing Secrets
The ideal oven temperature is 350°F (175°C). Consider rotating your baking sheets halfway through the baking time to account for any hot spots in your oven. Ensure all cookies on a single baking sheet are uniform in size and thickness for consistent baking.
Troubleshooting Common Issues
If your cookies are spreading too much, the dough may be too warm. Return it to the freezer for 10-15 minutes before baking. For cookies that are too dry or crumbly, you may have added too much flour or overbaked them.
| Issue | Solution |
|---|---|
| Cookies spreading too much | Chill dough in freezer for 10-15 minutes |
| Cookies too dry or crumbly | Measure flour correctly, avoid overbaking |
| Lack of flavor | Use high-quality butter, vanilla, and salt |
Delicious Variations of the Basic Sand Cookie Recipe
With our sand cookie recipe, the possibilities are endless, and we’re excited to share some of our favorite variations. The simple dough serves as an excellent canvas for countless adaptations that can be tailored to any season or occasion, making it a perfect treat for various celebrations throughout the year.
Pennsylvania Dutch Sand Tarts
Pennsylvania Dutch sand tarts represent one of the most popular variations of our classic sand cookie recipe. These tarts are rolled much thinner (about 1/8 inch) than traditional sand cookies, creating an extra-crisp texture that shatters delicately with each bite. The traditional version typically features a sprinkle of cinnamon sugar on top and a pecan half pressed into the center before baking. To make these tarts, simply roll out the dough very thinly and bake for about 8-10 minutes, instead of the usual 16 minutes.
Flavor Additions and Toppings
The versatility of our sand cookie recipe allows for a wide range of flavor additions and toppings. For chocolate lovers, consider adding 1/4 cup of cocoa powder to the flour mixture or folding in 1/2 cup of mini chocolate chips into the finished dough. You can also add a bright twist with citrus zest—try incorporating 1-2 teaspoons of lemon, orange, or lime zest into the creamed butter and sugar. Additionally, spiced variations can be created by adding warm spices like cinnamon, nutmeg, or cardamom to the flour mixture, starting with 1/2 teaspoon and adjusting to taste.
For special occasions, consider pressing a half of a candied cherry, a piece of crystallized ginger, or a blanched almond into the center of each cookie before baking. Dipping half of each baked and cooled cookie in melted chocolate creates an elegant presentation and delicious flavor contrast. The versatility of sand cookies also makes them perfect for holiday baking—shape the dough using cookie cutters and decorate with colored sugar or royal icing for festive treats that maintain that characteristic sandy texture.
Storing and Serving Your Sand Cookies
Storing sand cookies correctly is crucial for preserving their delicate texture and flavor. To maintain their quality, allow the cookies to cool completely on a wire rack before storing them in an airtight container. For short-term storage, place the cooled cookies in a container at room temperature, and consider adding a piece of bread to maintain moisture levels.
For longer storage, sand cookies can be frozen for up to three months. Simply place them in a freezer-safe container with parchment paper between layers. When serving, thaw the cookies at room temperature for about 30 minutes. Sand cookies pair well with tea or coffee, and they can also be served with vanilla ice cream or fruit compote for an elegant dessert.


