We fell in love the first time we smelled acorns roasting in the oven – the intoxicating aroma was warm and caramel-like, with hints of maple and cozy evenings by the fire. For thousands of years, acorns have been a staple food source across cultures, offering a rich, unique flavor profile and numerous nutritional benefits.
At Historical Foods, we’re passionate about reviving traditional food knowledge and combining it with modern science to create delicious recipes. Our approach to making acorn cake involves a scientifically-backed process that addresses the challenges of tannin removal while preserving the special properties of acorn flour.
By understanding the science behind processing acorns and utilizing the right oak species, we can transform this overlooked ingredient into a gourmet addition to your baking repertoire. This comprehensive guide will walk you through every step, from harvesting to baking the perfect cake, making the most of your time in the kitchen.
The Science of Acorns: Nature’s Overlooked Treasure
The humble acorn, a staple in the diet of our ancestors, conceals a complex composition that requires scientific processing to unlock its true flavor and nutritional potential. At the heart of this process is understanding the composition of acorns and the challenges they pose due to their bitter taste.
Understanding Acorn Composition and Flavor Profile
Acorns are rich in nutrients, but their palatability is compromised by high levels of tannins, polyphenolic compounds that create an astringent, bitter taste. Scientific analysis reveals that tannin levels can range from 2-10% by weight, varying significantly between species and even between trees of the same species growing in different conditions. The presence of these tannins not only affects the taste but also necessitates a processing step known as leaching to make acorns consumable.
- Tannins in acorns are responsible for their bitter taste and potential toxicity in large quantities.
- The process of leaching involves soaking acorns in multiple changes of water to remove tannins without destroying their nutritional value.
- Traditional methods of leaching, such as those used by Native Americans, demonstrate a sophisticated understanding of food science.
Why Acorns Need Special Processing
The necessity for leaching underscores the importance of processing in transforming acorns into a usable flour for baking. Modern techniques have shown that cold water leaching preserves more of the starch content essential for baking, while hot water methods, though faster, can prematurely gelatinize some starches. The time invested in proper leaching is crucial, as rushing this process results in bitter flour that can ruin recipes. Laboratory analysis confirms that properly leached acorn flour retains beneficial antioxidants, minerals, and complex carbohydrates, making it a valuable ingredient in food preparation.
Preparing Acorn Flour: The Leaching Process
Preparing acorn flour is a crucial step in our acorn cake recipe, involving a scientific approach to leaching and processing. The quality of the flour directly impacts the final product’s taste, texture, and overall success.
Collecting and Sorting Acorns
The process begins with collecting and sorting acorns. We select acorns based on their species, size, and condition, as these factors significantly affect the flour’s flavor and quality. Proper sorting ensures that we remove any damaged or infested acorns, which could compromise the final product.
Removing Tannins Through Scientific Leaching Methods
Acorns contain tannins, compounds that give them a bitter taste. To remove these tannins, we employ a scientific leaching method. Cold leaching is our preferred technique, as it preserves the acorns’ natural nutrients and flavor. The natural starches in cold-leached acorn flour are what thickens our delicious pudding, so we avoid substituting any other kind of flour or nut instead.
We use a combination of water and time to leach out the tannins effectively. This process requires patience and careful monitoring to achieve the desired results.
Drying and Grinding Techniques
After leaching, we dry the acorn meal to remove excess moisture. Proper drying is critical; we use low, consistent heat (around 150°F) to preserve flavor and prevent mold growth. Dehydrators provide the most controlled environment, but oven drying with the door slightly ajar can also work well with vigilant temperature monitoring.
The grinding process significantly impacts the final texture of our flour. We recommend a two-stage approach: first breaking down dried chunks in a food processor, then achieving fine consistency in a dedicated grain mill or high-powered blender. Scientific analysis shows that finer grinds (approaching 200 mesh) produce the most consistent results in baking.
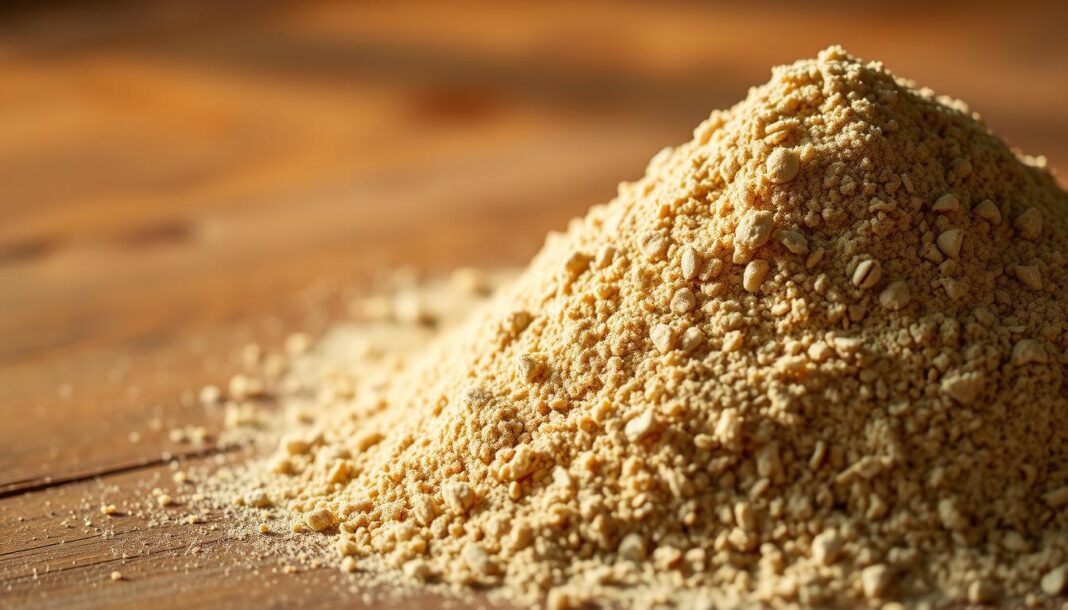
To achieve the desired consistency, we sift the ground flour through progressively finer screens, separating different grades for various applications. The finished acorn flour should have a consistent light tan to medium brown color, a pleasant nutty aroma, and no hint of bitterness. Properly processed acorn flour tends to be more dense and absorbs liquids differently than wheat flour, which we account for in our recipe formulations.
Acorn Cake Recipe: Step-by-Step Instructions
With our acorn flour ready, we can dive into the step-by-step process of creating a moist and flavorful acorn cake. This recipe combines the unique characteristics of acorn flour with traditional baking techniques to produce a delicious dessert.
Essential Ingredients and Their Scientific Roles
The ingredients in our acorn cake recipe play crucial roles in its structure, flavor, and texture. The flour provides the foundation, while sugar adds sweetness and tenderness. Eggs serve as both a binder and a leavening agent, contributing to the cake’s moisture and richness. We use butter for added flavor and to enhance the cake’s texture. The combination of these ingredients, along with careful preparation, results in a cake that’s both delicious and scientifically sound.
- Acorn flour: The primary structural component, offering a unique flavor profile.
- Sugar: Adds sweetness and tenderness, while contributing to browning.
- Eggs: Serve as binders and leavening agents, enhancing moisture and richness.
- Butter: Adds flavor and improves texture.
Mixing the Perfect Acorn Cake Batter
Mixing is a critical step in creating a uniform cake batter. We recommend creaming the butter and sugar together until light and fluffy, then incorporating eggs one at a time. Gradually add the dry ingredients, including the acorn flour, to the wet mixture, being careful not to overmix. This process ensures an even distribution of ingredients and helps to develop the cake’s structure.
Baking Temperature and Time Considerations
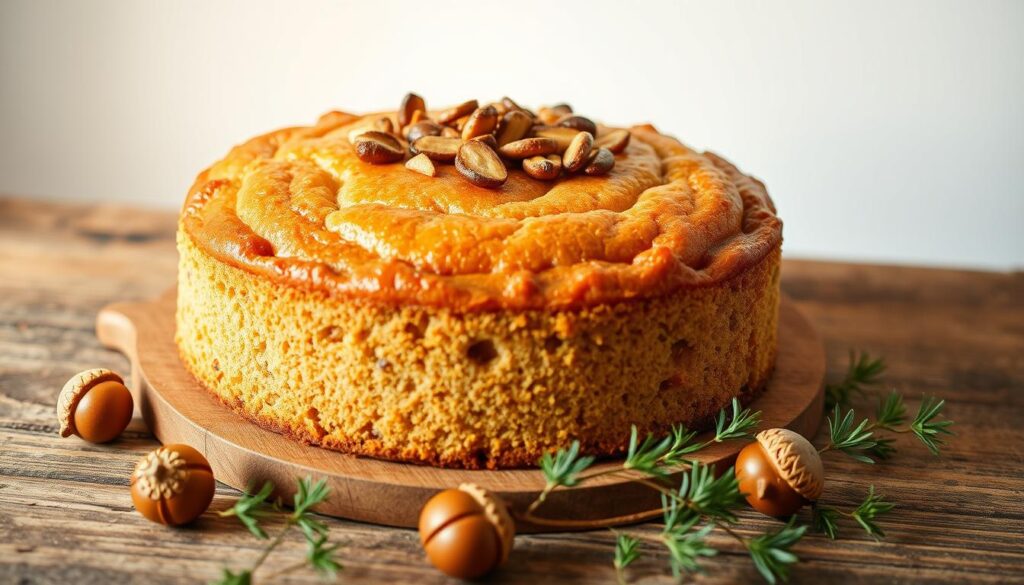
Baking our acorn cake requires careful attention to temperature and time. Preheat your oven to 350°F (175°C), ensuring it’s thoroughly heated for at least 20 minutes before baking. The ideal baking time varies based on the pan size: for a standard 9-inch round cake, bake for about 30-35 minutes. Check for doneness by gently pressing the center; it should spring back. If the top browns too quickly, tent the cake with aluminum foil after 20 minutes.

After baking, remove the cake from the oven and let it rest in the pan for exactly 5 minutes before transferring it to a cooling rack. This brief rest allows the structure to set, preventing sogginess. Once cooled, dust the cake with confectioner’s sugar for a delightful finish.
Flavor Variations and Serving Suggestions
At Historical Foods, we love experimenting with different flavors and toppings to bring out the best in our acorn cakes. By combining complementary flavors and creative presentation styles, you can elevate your acorn cake experience and make it truly special.
Complementary Flavors That Enhance Acorn’s Natural Taste
Acorn cake’s unique flavor profile can be enhanced with various complementary flavors. We recommend pairing it with ingredients that either contrast or complement its earthy notes. For instance, adding a hint of orange zest or cinnamon can create a delightful flavor contrast. The key is to balance the earthiness of the acorn with bright, citrusy, or warm spices to create a harmonious taste experience.
Some of our favorite combinations include using maple syrup to enhance the cake’s natural caramel notes or incorporating cream cheese frostings with a tangy richness that balances the earthy qualities of acorn flour. These combinations not only add depth to the cake’s flavor but also introduce a sophisticated twist to this traditional ingredient.
Glazes and Toppings That Work Best
When it comes to glazing and topping your acorn cake, simplicity often works best. A maple glaze can add a glossy finish while enhancing the cake’s natural flavors. To apply, brush the glaze over the cake and then dip the top into sugar for an added crunch. For a more rustic look, a dusting of powdered sugar on top can create a beautiful presentation.
Other excellent options include whipped cream stabilized with gelatin, infused with vanilla or a splash of bourbon for added dimension, or a caramel sauce made with brown butter that echoes the nutty undertones of acorn flour. When glazing individual cakes, place them on a wire rack with parchment paper underneath to catch any drips, ensuring a clean and elegant presentation.
Our testing confirms that simple glazes and toppings often work best, allowing the unique flavor of acorn flour to remain the star while adding complementary sweetness and moisture. By choosing the right combination, you can create a truly memorable dessert that showcases the versatility and richness of acorn cake.
Mastering the Art of Acorn Baking
As we conclude our journey into the world of acorn baking, it’s clear that mastering this ancient art requires both science and patience. The unique properties of acorn flour demand a different approach compared to traditional baking. We’ve discovered that successful acorn cake recipes typically combine acorn flour with wheat flour in a 1:1 ratio, providing optimal structure while showcasing acorn’s distinctive flavor.
When working with acorn flour, it’s essential to adjust liquid content as it absorbs more than wheat flour. Start with the recommended amount and add more liquid (milk, water, or oil) a tablespoon at a time until you achieve the right consistency. Additionally, be mindful of the baking powder amount, as reducing it by about 25% can help address texture issues, such as crumbliness.
To preserve the quality of both acorn flour and your baked goods, proper storage is crucial. Store flour in an airtight container in the freezer to prevent rancidity. For baked cakes, keep them in a sealed container at room temperature for up to three days or freeze unglazed cakes for up to three months. When baking, position your oven rack in the middle or lower third to prevent excessive browning on the top and sides of your cakes.
By understanding these nuances and adjusting your techniques accordingly, you’ll be well on your way to creating delicious acorn cakes that showcase the unique flavor and nutritional benefits of this ancient ingredient.


