Cooking venison to perfection requires a deep understanding of its unique characteristics. As a lean meat, venison can become tough if not cooked properly. At Historical Foods, we guide you through the process of preparing tender and flavorful venison dishes using your oven.
Venison is a delicacy that demands specific cooking techniques to bring out its best qualities. To achieve a tender and juicy texture, it’s crucial not to overcook it. For a comprehensive guide, including optimal cooking times and temperatures, check out our detailed article on cooking venison. For an alternative method, you can also refer to searing and baking deer tenderloin.
Key Takeaways
- Understanding venison’s lean nature is crucial for cooking it to perfection.
- Proper cooking techniques, including optimal oven temperatures, ensure tender and flavorful results.
- Using a digital oven thermometer helps achieve the perfect internal temperature.
- Cooking time varies based on the size and cut of the venison.
- Avoid overcooking to maintain venison’s natural tenderness and flavor.
Understanding Venison: What Makes It Unique
What sets venison apart from other red meats is its lean nature and unique flavor profile. Venison is very lean compared to beef, which is why it can be tough if not cooked right. Wild game meat doesn’t have all the fat that creates grease in the pan like beef does.
The Lean Nature of Venison
The lean nature of venison directly impacts how it should be cooked. With a significantly lower fat content compared to beef (about 3.8% fat versus beef’s 18-20%), venison lacks intramuscular fat (marbling), meaning it can dry out quickly when exposed to high heat for extended periods. This characteristic necessitates a cooking method that preserves moisture, such as oven roasting, to achieve tender results.
Common Misconceptions About Cooking Deer Meat
Many believe that deer meat is inherently tough or gamey, but these qualities typically result from improper handling or cooking rather than the meat itself. Understanding the muscle structure and composition of venison helps explain why certain cooking methods work better than others. For more detailed cooking instructions, you can refer to our guide on how to cook deer meat in the, which provides a step-by-step approach to preparing delicious venison.

Essential Ingredients for Oven-Roasted Venison
Cooking venison to perfection in the oven begins with understanding the essential ingredients. The right ingredients complement venison’s natural flavor without overpowering its unique taste profile.
Basic Seasonings and Herbs
Basic seasonings form the foundation of any good venison dish. Salt and black pepper are fundamental, while garlic, onion powder, and herbs like rosemary and thyme enhance the meat’s natural flavors. These seasonings work together to create a balanced flavor profile.
| Seasoning | Function |
|---|---|
| Salt | Enhances flavor |
| Black Pepper | Adds depth |
| Garlic | Complements natural flavors |
Optional Ingredients to Enhance Flavor
Optional ingredients like juniper berries can help reduce gaminess and add a subtle piney flavor. Adding a pat of butter towards the end of cooking can enrich the dish. Acidic ingredients such as balsamic vinegar or Worcestershire sauce can tenderize the meat while adding depth of flavor.
Preparing Your Venison for the Oven
Preparing your venison for the oven involves several critical steps that ensure a mouth-watering result. Proper preparation not only enhances the flavor but also ensures that the meat is cooked to perfection.
Thawing and Trimming Tips
It’s essential to thaw your venison steaks completely before cooking to ensure even cooking throughout. Trimming the venison properly is also crucial as excess fat and silver skin can contribute to gamey flavors.
Effective Marinating Techniques
Soaking venison in a marinade, such as Worcestershire sauce, can help tenderize the meat. The right marinating time can make a significant difference in the tenderness and flavor of the final dish.
Seasoning Your Venison Properly
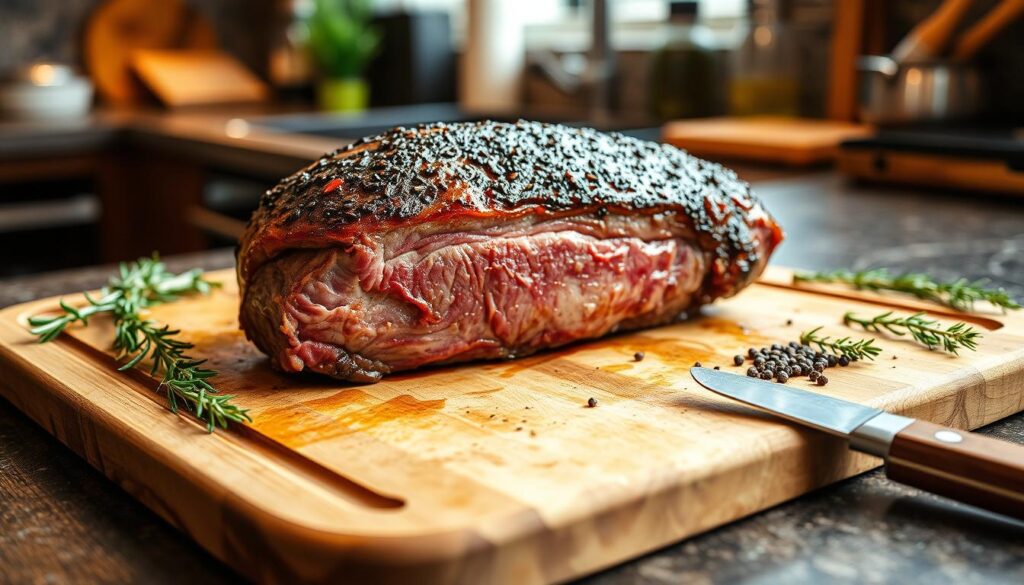
Pat the meat dry before applying a generous amount of salt and pepper, and a drizzle of oil for a crispy crust. Proper seasoning is key to a delicious roast.
How to Cook Venison in Oven: Step-by-Step Method
Our guide will walk you through the simple yet precise process of cooking venison in the oven. To achieve a perfectly cooked roast, we’ll cover the crucial steps from preparation to the final resting period.
Searing the Meat Before Roasting
Searing the venison in a hot cast iron skillet is the first step to locking in juices and developing rich flavor compounds. Heat oil in the skillet until it’s almost smoking, then sear the venison for about 20-30 seconds per side. This quick, high-heat method works best for venison, achieving a perfect sear without overcooking the meat.
Oven Temperature and Timing Guidelines
Preheat your oven to 350°F (175°C). The ideal oven temperature range for cooking venison is between 325-350°F. Cooking time varies based on the size and type of cut you’re working with. For medium-rare, cook until the internal temperature reaches 135°F, which typically takes about 10 minutes for small cuts, and longer for larger cuts.
Using a Meat Thermometer for Perfect Results
Using a meat thermometer is crucial for achieving perfectly cooked venison. The target internal temperature for medium-rare is 135°F. After cooking, let the venison rest for 5-10 minutes before cutting. This resting period allows the juices to redistribute, resulting in a more tender and flavorful final product.
Creating Delicious Venison Gravy
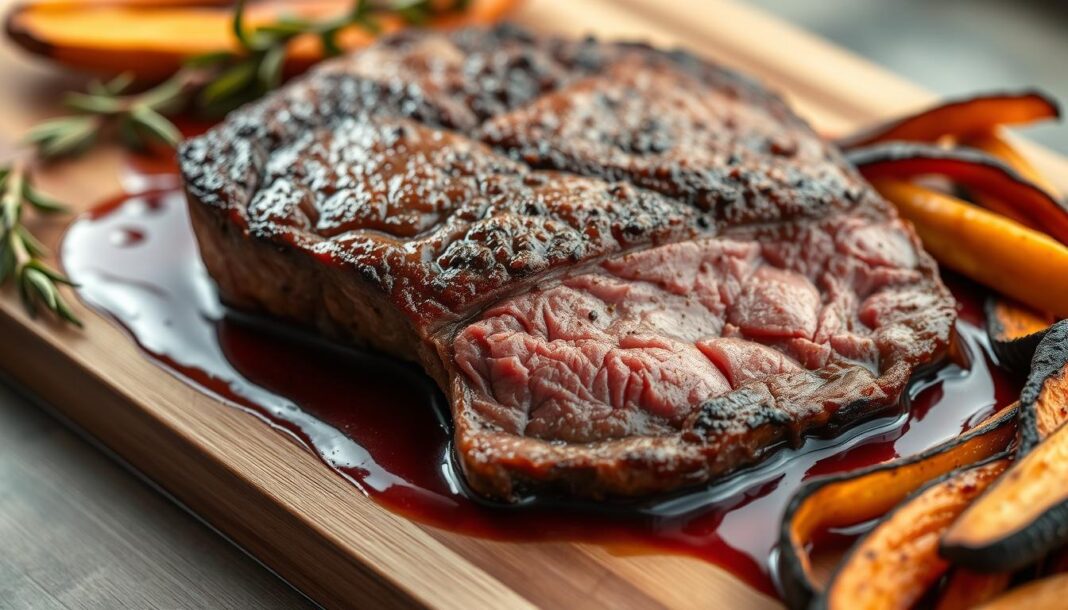
Transforming the drippings from your venison roast into a delectable gravy is a simple yet impactful way to enhance your meal. A good gravy can complement the rich flavor of the venison, adding an extra layer of complexity to the dish.
Collecting and Using the Drippings
To start, you’ll need to collect the drippings from your venison roast. After removing the roast from the oven, carefully pour the juices into a saucepan, leaving behind any excess fat. If using a skillet for searing, deglaze it with a bit of broth or wine to capture all the flavorful browned bits. This step is crucial for creating a rich and savory gravy.
Thickening and Seasoning Your Gravy
For a traditional roux-based gravy, melt 1 tablespoon of butter in a saucepan over medium heat. Whisk in 1 tablespoon of flour and cook until golden yellow, about 10 minutes. Then, gradually whisk in the collected broth, bringing the mixture to a simmer. Continue to cook for 15 minutes, whisking frequently, until the gravy thickens. Alternatively, you can use a cornstarch slurry for a quicker thickening method. Season the gravy with salt, pepper, and a hint of herbs to taste.
| Thickening Method | Time Required | Flavor Profile |
|---|---|---|
| Roux-based | About 25 minutes | Rich, nutty flavor |
| Cornstarch Slurry | About 5 minutes | Neutral, quick thickening |
By following these steps and choosing the right thickening method, you can create a delicious venison gravy that complements your roast perfectly.
Serving Suggestions for Oven-Roasted Venison
To fully appreciate the unique taste of venison, it’s essential to choose side dishes and beverages that complement its rich flavor profile. We will guide you through the process of selecting the perfect accompaniments to elevate your dining experience.
Complementary Side Dishes
Roasted vegetables such as carrots, potatoes, asparagus, Brussels sprouts, or green beans make excellent sides for venison. The natural sweetness of these vegetables balances the leanness of the venison roast. A classic baked potato and salad also pair well, while serving with bread can enhance the experience by soaking up the savory gravy.
- Root vegetables like carrots and potatoes are a natural pairing.
- Asparagus and green beans add a fresh contrast.
- Bread is perfect for sopping up the rich venison gravy.
Wine Pairings for Venison
Selecting the right wine to accompany your venison is an art. Typically, full-bodied red wines like Syrah, Cabernet Sauvignon, or Malbec stand up well to the rich flavor of venison. These wines complement the bold taste without overpowering it, creating a harmonious dining experience.
Storing and Reheating Your Venison Roast
To enjoy your venison roast to the fullest, it’s essential to understand the best practices for storing and reheating it. Proper storage is crucial for maintaining the quality and flavor of this lean meat.
For short-term storage, place your leftover venison roast in an airtight container and refrigerate it. It can be safely stored in the refrigerator for 3-4 days. When you’re ready to reheat, place the venison in a baking dish, cover it with foil, and warm it in a 350°F oven for 12-15 minutes until heated through.
For longer storage, consider freezing your venison roast. Proper wrapping techniques, such as vacuum sealing, can help prevent freezer burn and preserve quality for up to 6 months. When reheating frozen venison, it’s best to thaw it first and then follow the same reheating instructions.
Reheating venison requires a gentle approach to prevent it from becoming tough. Avoid using the microwave, as it can unevenly heat the meat. Instead, opt for a low and slow reheating method, like using a slow cooker, to maintain the tenderness and flavor of the venison. For more detailed guidance on handling and cooking venison, you can visit proper handling and cooking venison.


