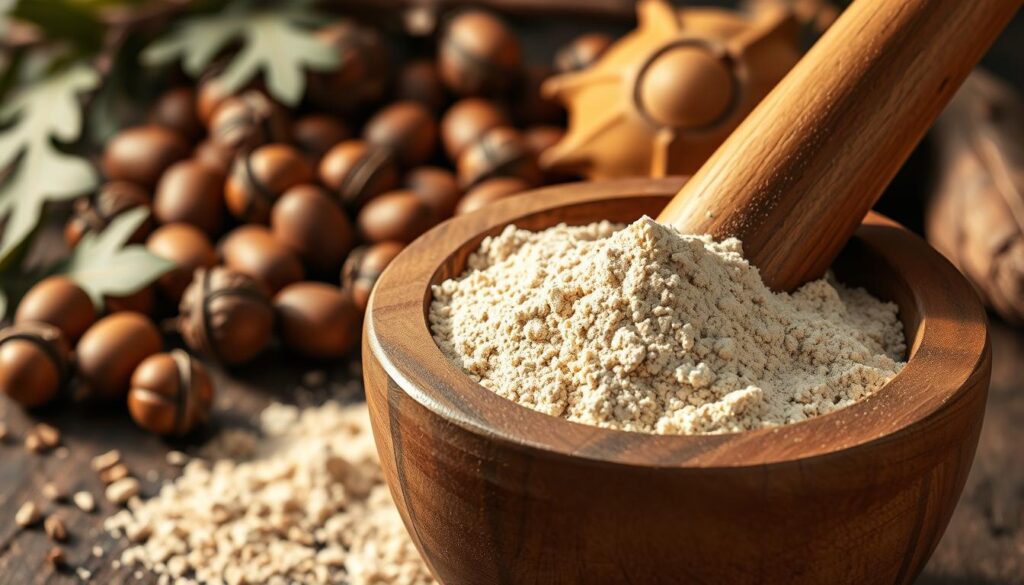
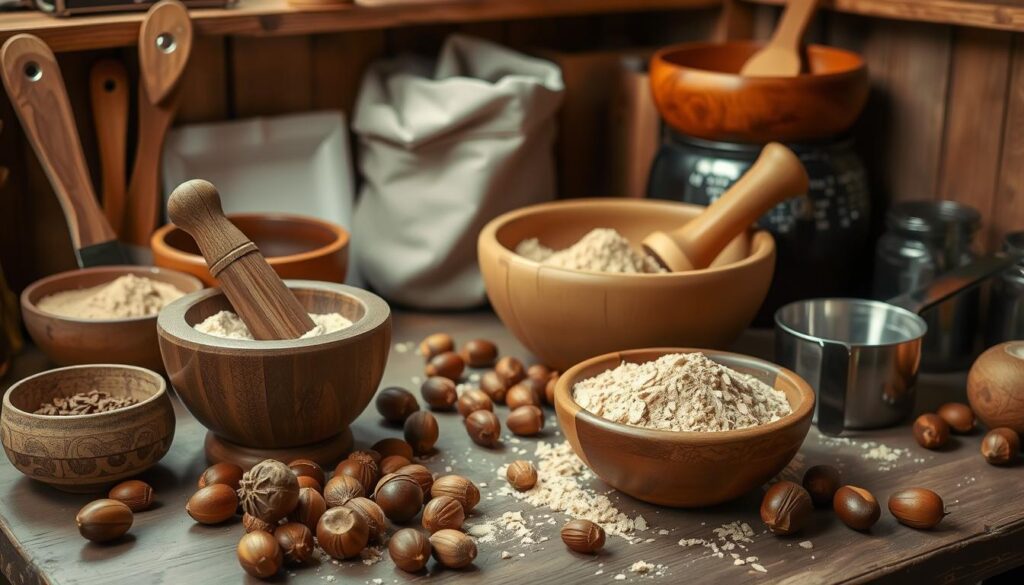
Foraging for acorns and transforming them into a usable flour is a rewarding process that connects us to traditional food practices. Acorns, varying in nutritional content, offer a versatile ingredient for various culinary applications.
We guide you through the process of turning foraged acorns into a nutritious, gluten-free flour. This traditional food source, rich in history, is made accessible with minimal equipment, requiring patience as the tannins leach out. By understanding the nutritional profile of acorn flour, we appreciate its value in modern kitchens.
Key Takeaways
- Transforming acorns into flour connects us to ancient food traditions.
- The process is accessible with minimal specialized equipment.
- Acorn flour is a nutritious, gluten-free alternative to commercial flours.
- Patience is required as the tannins leach out of the acorns.
- Understanding the nutritional profile of acorn flour highlights its culinary potential.
The Ancient Tradition of Acorn Flour
The use of acorn flour dates back to ancient times, providing a fascinating link to our culinary heritage. For centuries, various cultures have utilized acorns as a primary food source, transforming them into a versatile and nutritious flour. This traditional practice not only connects us to our past but also offers a sustainable and healthy alternative to modern flours.
Nutritional Benefits
Acorn flour is rich in nutrients, making it an excellent addition to a balanced diet. It is a good source of fiber, vitamins, and minerals. The nutritional benefits of acorn flour include its high antioxidant content and potential to support heart health. By incorporating acorn flour into your diet, you can enhance the nutritional value of your meals.
| Nutrient | Value per 100g |
|---|---|
| Protein | 5g |
| Fiber | 10g |
| Iron | 2mg |
Why Make Your Own Acorn Flour
Making your own acorn flour allows you to control the entire production process, ensuring quality and purity. This process also connects us to seasonal cycles and local ecosystems, providing a sense of self-sufficiency and food security. By making acorn flour, you can transform a free, abundant resource into a valuable food product. For more detailed instructions on making acorn flour, you can visit our page on acorn flour.
The benefits of making your own acorn flour include:
- Control over the production process
- Connection to local ecosystems
- A sense of self-sufficiency
- Transformation of a free resource into a valuable product

Selecting and Gathering the Right Acorns
Gathering acorns for flour is not just about collecting any acorn; it’s about identifying the best oak species and the highest quality acorns. The process begins with understanding the types of oaks that produce acorns suitable for consumption.
Best Oak Species for Flour Making
Not all oak species are created equal when it comes to making acorn flour. White oak acorns, for instance, are generally sweeter and less bitter than those from red oaks, making them a preferable choice. Within the white oak category, species like the Quercus alba (white oak) are highly regarded for their flavor and nutritional profile.
How to Identify Quality Acorns
Quality acorns are those that are free from damage, mold, and insect infestation. When gathering acorns from the ground, look for ones that are intact and have a fresh appearance. Avoid those that are cracked, moldy, or have visible signs of insect damage.
When and Where to Harvest
The time of year for harvesting acorns varies by region and oak species, but generally falls in the autumn. Understanding the local oak species and their fruiting patterns is key. Certain locations like parks, nature preserves, and private woodlands can be excellent places to harvest acorns, provided you have the necessary permissions. It’s also crucial to consider the environmental conditions; areas free from pollution and pesticides are preferable.
- Harvest acorns during the optimal seasonal time, typically in fall.
- Choose locations that are free from contaminants.
- Consider the impact of weather patterns on acorn production from year to year.
- Practice ethical harvesting by taking only what you need.
Essential Tools and Equipment for Making Acorn Flour

The process of creating acorn flour involves several key pieces of equipment. While it’s possible to make acorn flour with minimal tools, having the right equipment can significantly streamline the process and improve the quality of the final product.
Basic Kitchen Tools You’ll Need
To start making acorn flour, you’ll need some basic kitchen tools. A food processor or high-powered blender is essential for grinding dried acorn meats into flour. For instance, a typical coffee grinder requires about 35 seconds of grinding to produce a fine powder, while a Vitamix can accomplish this in just 15 seconds, saving you time and work.
Optional Equipment for Easier Processing
While not essential, several pieces of equipment can make the acorn flour making process easier and more efficient. These include:
- Dehydrators for controlled, low-temperature drying that preserves the quality and color of your acorn flour.
- Coffee grinders for producing fine acorn flour in small batches with minimal effort.
- Specialized grain mills for achieving the finest texture, ideal for those seeking professional-quality acorn flour.
- Vacuum sealers to extend the shelf life of your finished flour by preventing oxidation of the natural oils.
- Mesh bags designed for nut milk to simplify the leaching process for large quantities.
Investing in these tools can enhance your acorn flour making experience, making it more efficient and enjoyable, as you work with acorn ingredients.
Step-by-Step Process of Making Acorn Flour
The journey from acorn to flour involves several crucial steps, which we’ll guide you through in detail. Making acorn flour is a multi-stage process that requires patience and attention to detail, but yields a rewarding result.
Shelling and Cleaning Your Acorns
The first step in making acorn flour is to shell and clean your acorns. This is a crucial step as it removes any debris or shell fragments that could affect the quality of your flour. To shell your acorns, you can use a nutcracker or a hammer, taking care not to crush the kernel inside.
Once shelled, sort through the kernels and remove any that are discolored, damaged, or rotten. Rinse the remaining kernels in cold water to remove any dirt or debris. This cleaning process ensures that your flour will be free from contaminants and have a better flavor.
Cold Leaching Method: Removing Tannins
One of the most critical steps in making acorn flour is removing the tannins from the acorn kernels. Tannins give acorns their bitter taste and can be harmful in large quantities. The cold leaching method involves soaking the kernels in water to remove these tannins.
Daily Water Changes
To cold leach your acorn kernels, submerge them in water and change the water daily. This process helps to leach out the tannins from the kernels. Depending on the type of acorn and the initial tannin content, this process can take several days to a week.
Testing for Readiness
To check if your acorn kernels are ready, taste them. If they still taste bitter, continue to soak and change the water daily until they taste bland. This indicates that most of the tannins have been removed.
Hot Leaching Alternative Method
For those who prefer a quicker method, hot leaching is an alternative. This involves boiling the acorn kernels in water, then draining and rinsing them. Repeat this process several times until the kernels taste bland. While faster, hot leaching can result in a slightly different flavor profile compared to cold leaching.
Drying Your Leached Acorn Meal
After leaching, you’ll need to dry your acorn meal to create flour. Spread the wet meal on a baking sheet or a dehydrator tray. If using a dehydrator, set it to a low temperature, around 95°F. Check on the meal every few hours, turning it over to ensure even drying. This time-consuming step is crucial for preventing mold and ensuring the flour is shelf-stable.
Drying can take anywhere from a few hours to a full day, depending on the moisture content and the drying method. It’s essential to be patient and ensure the meal is completely dry, as any remaining moisture can compromise the shelf life of your flour.
By following these steps, you’ll be able to create high-quality acorn flour that’s perfect for various culinary applications. The end result of this detailed process is a nutritious and versatile ingredient that can be used in a variety of recipes.
Grinding and Storing Your Homemade Acorn Flour
Grinding your leached acorns into flour is a straightforward process, but proper storage is key to maintaining its quality. The high oil content in acorn flour, especially from varieties like blue oaks, live oaks, and red oaks, makes it prone to rancidity if not stored correctly. We will guide you through the best practices for grinding and storing your homemade acorn flour to ensure it remains fresh and usable for a long time.
Grinding Techniques for Fine Flour
To achieve a fine flour, you can use a grain mill or a high-powered blender. It’s essential to grind your acorns in small batches to avoid overloading the equipment and to ensure an even grind. Sifting the flour after grinding can help remove any larger particles, resulting in a smoother texture.
Proper Storage Methods to Prevent Rancidity
Proper storage is crucial for maintaining the quality of your acorn flour. We recommend storing it in airtight containers, such as quart Mason jars, in the refrigerator or freezer to extend its shelf life. The cold environment slows down the oxidation process, preserving the flour’s nutritional properties and flavor.
| Storage Method | Shelf Life | Notes |
|---|---|---|
| Room Temperature | Several Months | Use airtight containers; monitor for signs of rancidity |
| Refrigeration | 1-2 Years | Ideal for short to medium-term storage |
| Freezer | Several Years | Best for long-term storage; consider vacuum-sealing for extra protection |
Dividing your flour into smaller portions before storing can also help minimize exposure to air, further preserving its quality. Regularly check your stored flour for any signs of deterioration, such as off smells or visible mold.
Delicious Ways to Use Your Homemade Acorn Flour
Now that you’ve successfully made your own acorn flour, it’s time to explore the various ways you can incorporate it into your cooking and baking. We’ve found that using acorn flour as a substitute for up to half of the flour in a recipe works well, especially in baked goods like bread and pancakes.
The unique flavor profile of acorn flour adds nutty, slightly sweet notes to both sweet and savory dishes. When using it in recipes, keep in mind that its gluten-free nature means it behaves differently than wheat flour. Blending it with other flours often produces the best results.
Experimenting with acorn flour in small batches allows you to discover your preferred applications. You can use it to make a delicious roux, coat meats, or add it to bread, tortillas, and pasta for extra flavor and nutrition. Adding a bit of butter can enhance the flavor of your creations.


