Welcome to our comprehensive guide on creating delicious homemade jelly tarts from scratch, combining buttery crusts with vibrant fruit fillings. At Historical Foods, we’ve perfected a recipe that yields consistent results, whether you’re a novice baker or an experienced pastry chef.
Our step-by-step approach breaks down the process into manageable components, allowing you to allocate your time efficiently between preparing the dough, making the filling, and assembly. By following our detailed instructions, you’ll master the techniques needed to create bakery-quality treats in your own kitchen.
Key Takeaways
- Master the art of creating homemade jelly tarts with our step-by-step guide.
- Learn how to prepare the perfect shortbread crust and flavorful fruit jellies.
- Customize your tarts with various fruit fillings and designs.
- Allocate your time efficiently between dough preparation, filling, and assembly.
- Create bakery-quality jelly tarts in the comfort of your own kitchen.
The Perfect Jelly Tart Crust
The foundation of a great jelly tart lies in its crust, a delicate balance of ingredients. We have perfected a recipe that yields a crust that is both sturdy and tender, providing the perfect base for your jelly filling.
Essential Ingredients for a Buttery Base
To create the perfect crust, you will need 2 1/2 cups of all-purpose flour, 2 tsp. of granulated white sugar, and 1 tsp. of salt. The quality of your unsalted butter is crucial; we recommend using high-quality butter for the best flavor. You will need 2/3 cup (11 Tbsp.) of cold butter cut into small cubes, and 1/4 cup of ice water or cold milk.
| Ingredient | Quantity |
|---|---|
| All-Purpose Flour | 2 1/2 Cup |
| Granulated White Sugar | 2 tsp. |
| Salt | 1 tsp. |
| Cold Butter | 2/3 Cup (11 Tbsp.) |
| Ice Water or Cold Milk | 1/4 Cup |
Mixing and Preparing Your Dough
In a large bowl, whisk together the flour, sugar, and salt. Add the cubed cold butter and use your fingertips to rub it into the flour mixture until you achieve coarse crumbs. Then, pour in the cold milk or water and use a spoon to fold and cut it in until the mixture comes together into a dough. Avoid overworking the dough to prevent it from becoming tough.

Creating Homemade Fruit Jelly Filling
Homemade fruit jelly filling is what gives jelly tarts their vibrant color and distinctive flavor. The process of making it involves several key steps, from selecting the right fruits to cooking the mixture to the right consistency.
Selecting the Best Fruits for Your Filling
We recommend using berries like strawberries, raspberries, or blueberries for the most intensely flavored jellies. These fruits are high in natural pectin and have bright acidity, making them ideal for jelly. The type of fruit used will significantly impact the final flavor and texture of the jelly.
Step-by-Step Jelly Preparation
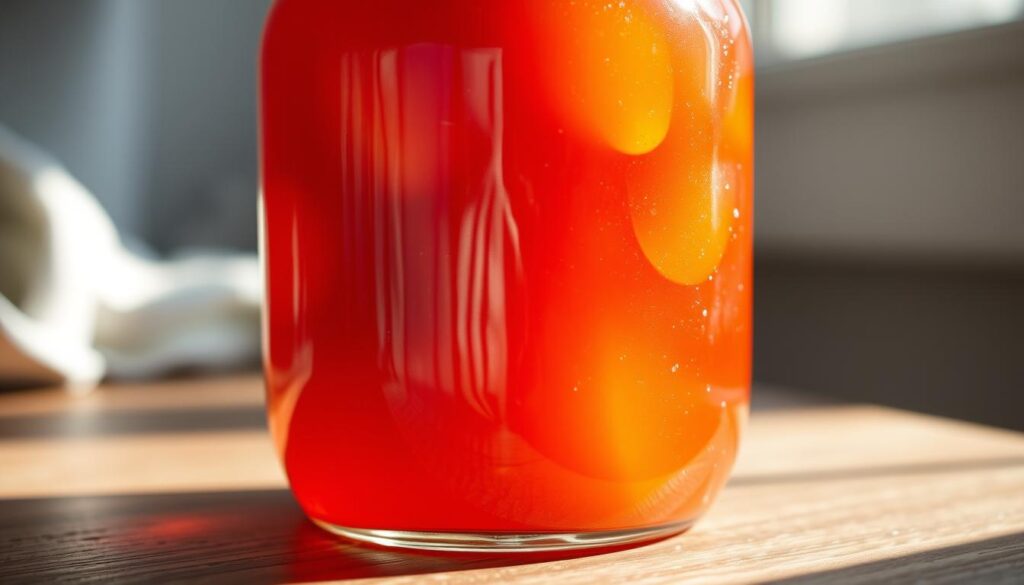
To make homemade jelly, start by cutting the fruit in half and scooping out the flesh. Then, cook the fruit with water on medium-low heat, mashing it to extract the juices. Strain the mixture to remove solids, then mix the liquid with sugar and lemon juice. Bring the mixture to a boil, then simmer for about 20 minutes, or until it thickens. This process requires some time and patience.

Store-Bought Alternatives
For those short on time, quality store-bought preserves can be a good alternative. Look for products with high fruit content and minimal additives for the best flavor. When using store-bought jam or jelly, ensure it’s made with wholesome ingredients and fits your recipes requirements.
Assembling and Baking Your Jelly Tarts
Assembling and baking jelly tarts is a straightforward process. To achieve the perfect tarts, we need to pay attention to the details in each step, from shaping the tart shells to baking them to a golden brown.
Shaping Your Tart Shells
To shape your tart shells, roll out the dough to about 1/8″ thickness. Use a mid-sized bowl to cut out circles. We recommend aiming for an even thickness to prevent the tarts from becoming too doughy or leaking.
Filling Techniques for Perfect Tarts
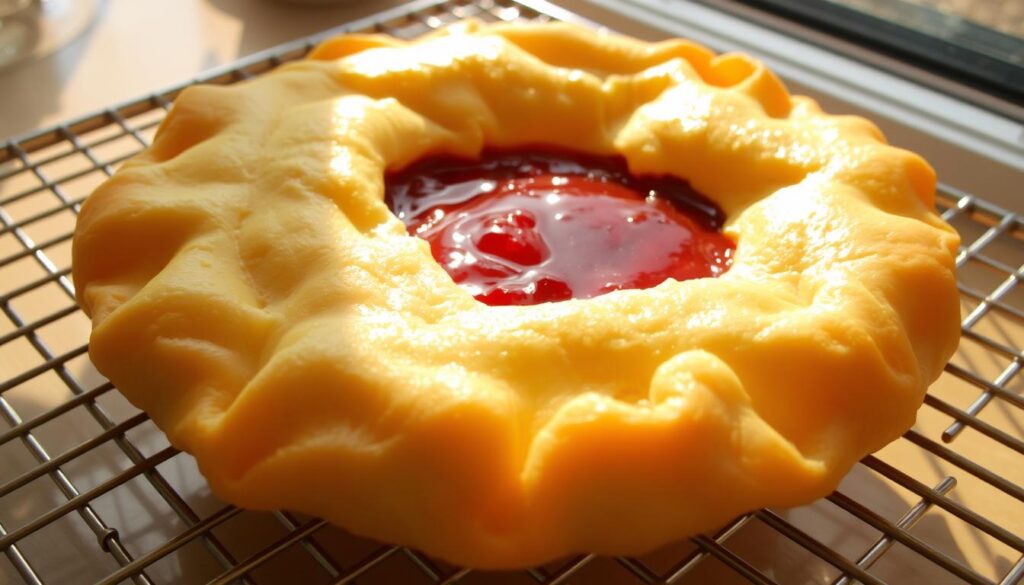
For the filling, spoon some jelly onto the dough circles, leaving about 1″ of space around the edges. Fold three sides of the dough inward to create a triangle, leaving a small window of jelly visible. This technique helps contain the filling while creating an attractive presentation.

Baking Times and Temperature Tips
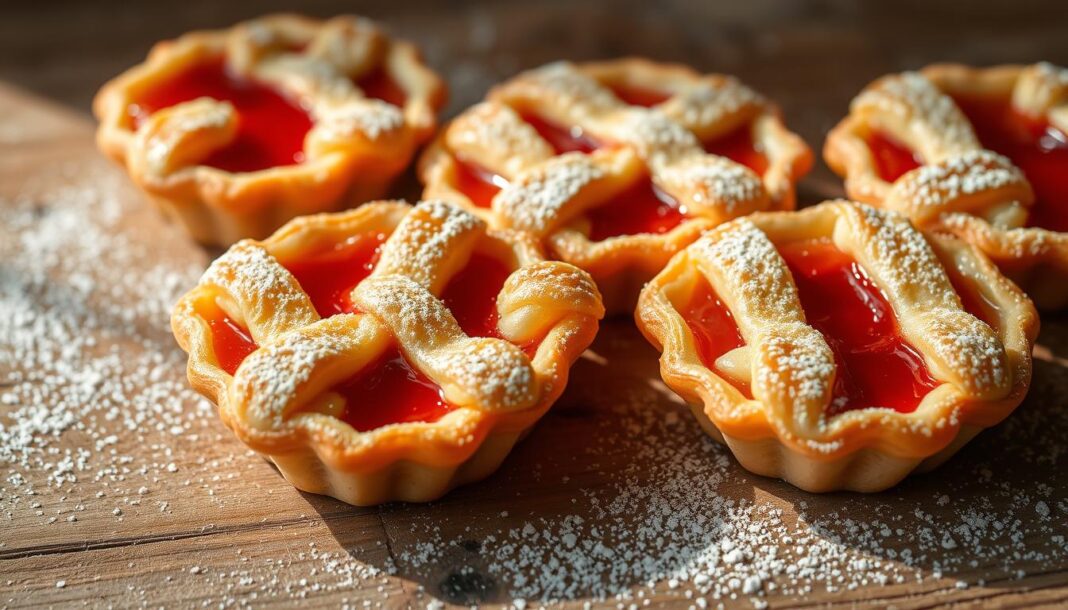
Preheat your oven to 375ºF. Chill the assembled tarts in the fridge until the oven is ready. Brush the exposed dough with beaten egg and sprinkle with sugar. Bake for about 25 minutes or until the crust is golden brown. For more inspiration on creative tart designs, check out our guide on jam puff pastry tarts.
By following these steps and tips, you’ll be able to create delicious jelly tarts with a perfectly baked crust.
Serving and Storing Your Homemade Jelly Tarts
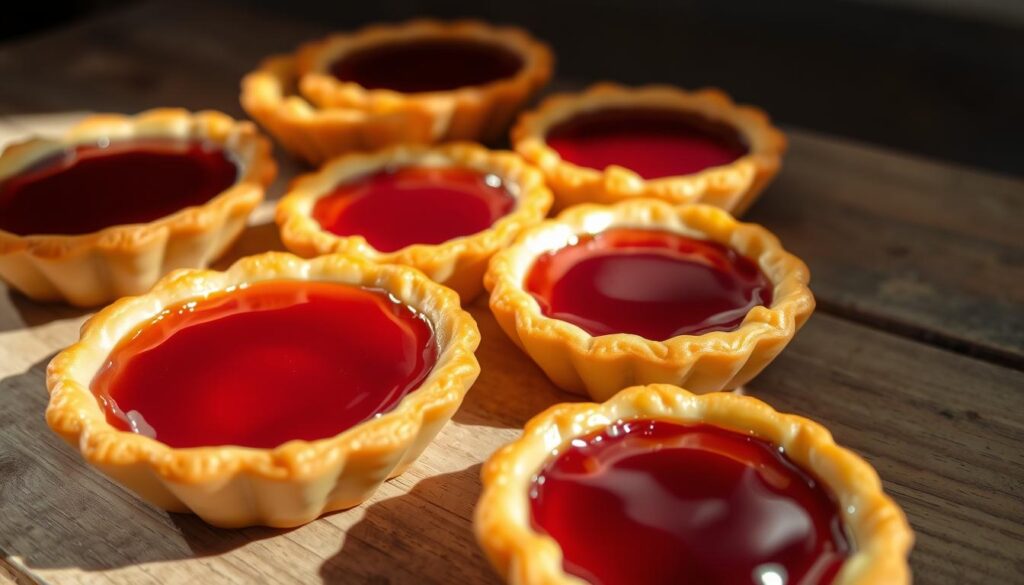
Now that you’ve mastered the art of baking jelly tarts, the next step is learning how to serve and preserve these sweet treats. Freshly baked jelly tarts offer a delightful contrast between the warm, crisp crust and the sweet, fruity filling. Allowing them to cool on a rack for at least 10 minutes after removing from the oven provides the optimal serving temperature.
To maintain the texture contrast, store completely cooled tarts in a single layer in an airtight container at room temperature. If you need to stack multiple layers, place pieces of parchment or waxed paper between each layer to prevent them from sticking together. For longer storage, you can freeze them for up to 3 months by wrapping individually in plastic wrap and then aluminum foil.
Experiment with different jam flavors or crust additions to create your own signature version of these versatile treats, perfect for a dessert spread or afternoon tea service.


