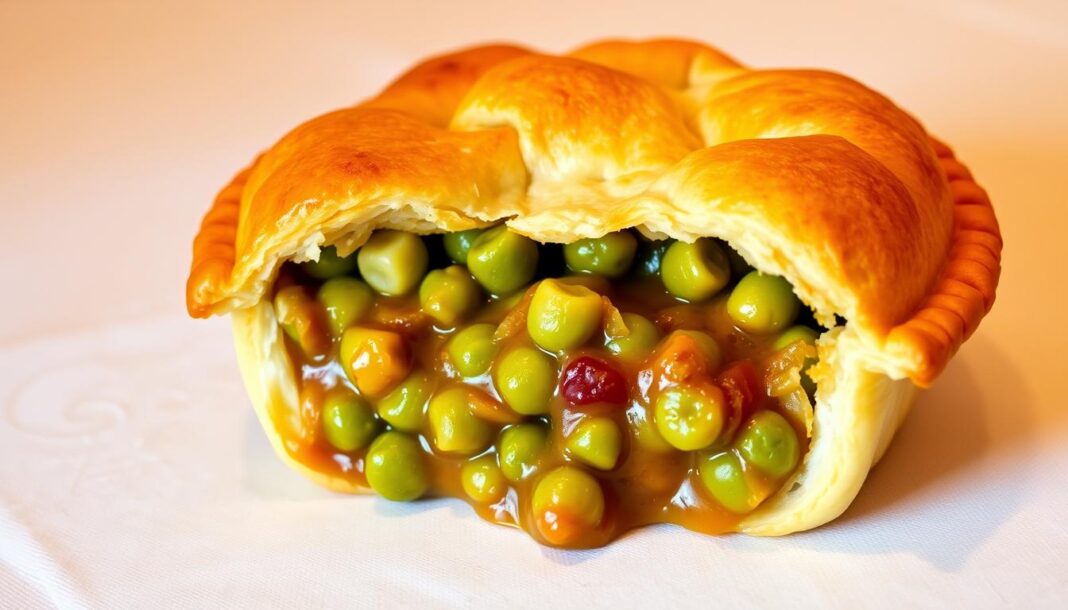
At Historical Foods, we’ve spent months perfecting our peas in a can pie recipe to bring you a dish that balances convenience with homemade flavor. Our test kitchen has worked tirelessly to ensure this pie delivers consistent results for home cooks of all skill levels.
This comfort food classic transforms humble canned peas into a savory, satisfying meal that’s perfect for weeknight dinners or casual gatherings. By combining traditional techniques with modern shortcuts, we’ve created a recipe that honors the humble pea while elevating it to something special.
Key Takeaways
- Simple and adaptable recipe for a delicious pie
- Perfect for weeknight dinners or casual gatherings
- Balances convenience with homemade flavor
- Detailed instructions for achieving a perfect golden crust
- Customizable with your favorite additions
Our Journey to the Perfect Peas in a Can Pie
Our journey to creating the ultimate peas in a can pie recipe has been a long and rewarding one, filled with experimentation and discovery. At Historical Foods, we’re passionate about developing recipes that combine convenience with culinary excellence, and this pie is a testament to that mission.
As Camille Glenn once said, “If I were asked to name the greatest fresh vegetable dish in the whole wide world, I believe it would have to be Fresh Green Pea Pie, a combination of buttery fresh peas and crisp crust. It has succulence, flavor, freshness, elegance, and charm—and one doesn’t meet it every day.” While our version uses canned peas, we’ve worked tirelessly to capture that same essence of freshness and flavor.
Why We Love This Recipe
Our culinary team has tested dozens of pea pie recipes over the years, refining techniques and ingredient combinations to create the ultimate version. We love this recipe for its versatility—it works as a main dish, side, or even as part of a buffet spread for gatherings. The use of canned peas significantly reduces preparation time, making it an ideal choice for busy home cooks who don’t want to compromise on flavor.
What Makes This Version Special
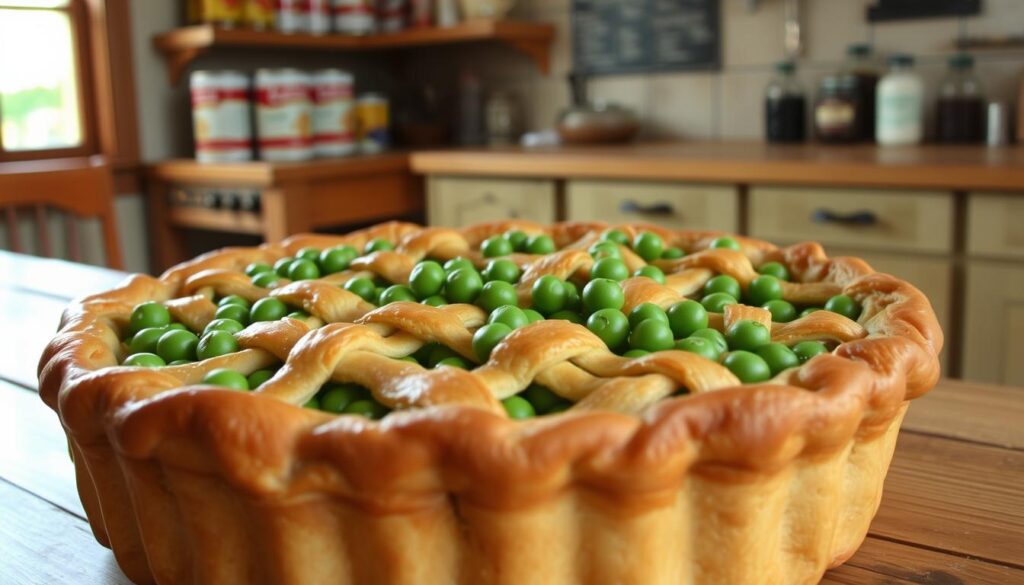
What makes our version special is the balance between convenience and homemade quality—we’ve developed methods to enhance the flavor of canned peas without complicated techniques. By incorporating traditional pie-making wisdom with modern kitchen science, we’ve created a foolproof recipe that delivers exceptional results. Our pie stands out because it addresses common issues like soggy bottoms and undercooked fillings that often plague homemade pies.
| Feature | Our Recipe | Traditional Recipes |
|---|---|---|
| Main Ingredient | Canned peas | Fresh peas |
| Preparation Time | Significantly reduced | More time-consuming |
| Versatility | High (main dish, side, buffet) | Variable |
Essential Ingredients for a Delicious Peas in a Can Pie
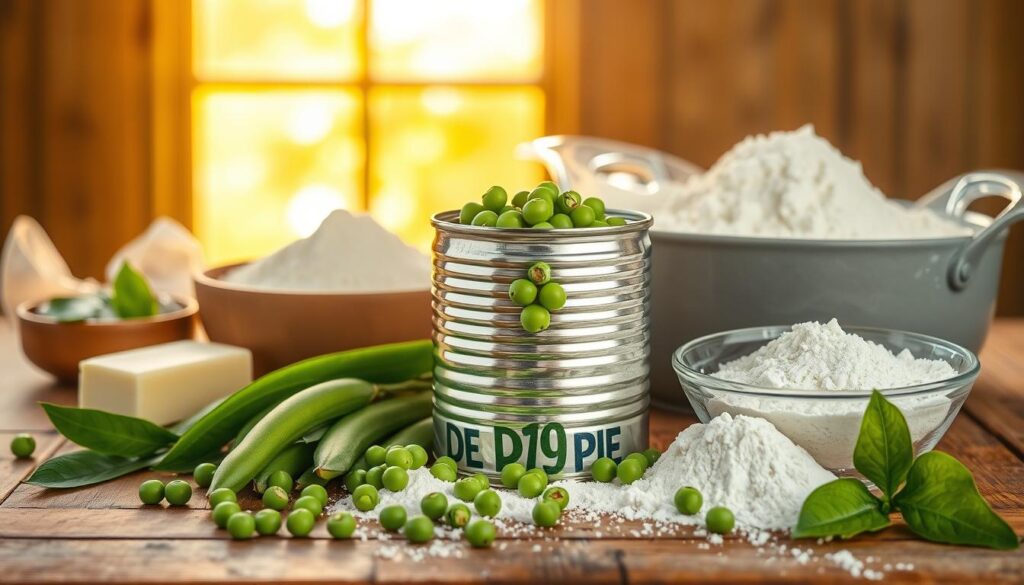
The secret to a delicious peas in a can pie recipe is in the quality of its components. We emphasize using premium ingredients to elevate the dish.
The Star of the Show: Canned Peas
Our recipe begins with quality canned peas, providing convenience without sacrificing flavor. We recommend a premium brand with no added salt for better control over seasoning.
Creating the Perfect Crust
The perfect pie crust requires a balance of flour, butter, and liquid. We’ve tested various combinations to find the ideal ratio for a flaky yet sturdy base, using olive oil for added richness.
Flavor Enhancers and Seasonings
To enhance the flavor, we use a blend of herbs and aromatics that complement the natural sweetness of peas. A touch of cream adds richness, while pepper provides a subtle kick.
Equipment You’ll Need
Before diving into our peas in a can pie recipe, let’s cover the essential equipment you’ll need to ensure a smooth baking process.
Baking Essentials
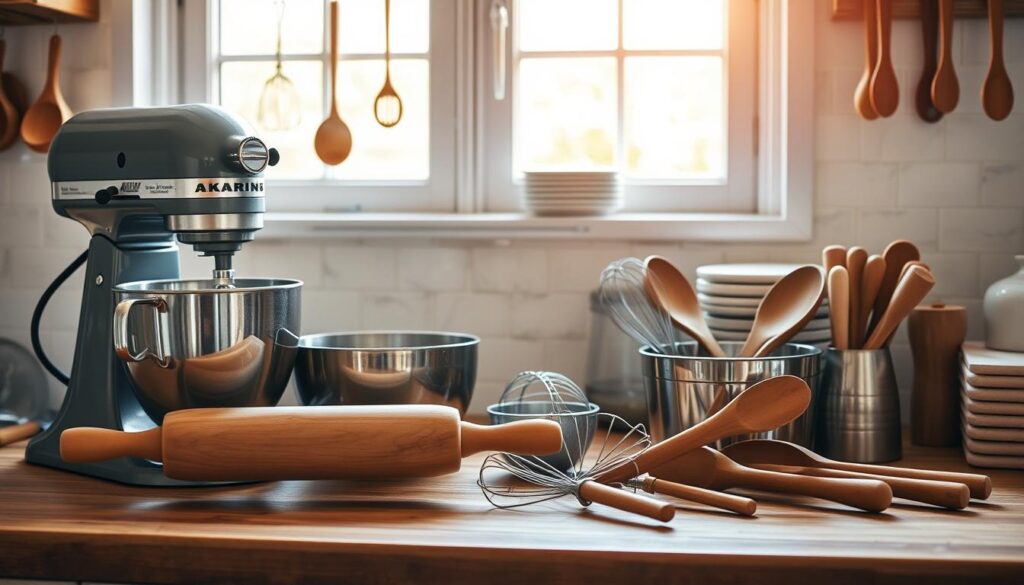
To start, you’ll need standard baking equipment that most home kitchens already have, making this pie accessible for cooks of all experience levels. A 9-inch pie dish is essential; we recommend glass or ceramic for even heat distribution and to help you monitor the browning of the bottom crust.
- A rolling pin for preparing the crust
- A pastry brush for applying egg wash
- A kitchen strainer for draining canned peas
Optional Tools That Help
While not strictly necessary, several tools can make the baking process easier and more efficient. A food processor can dramatically speed up the pastry-making process, and a pastry cutter can help incorporate butter into flour. Additionally, pie weights or dried beans can be helpful for blind baking the crust.
- A food processor for making the pastry
- A pastry cutter for incorporating butter into flour
- Pie weights or dried beans for blind baking
Preparing Your Peas in a Can Pie
We kick off our peas in a can pie recipe by focusing on the crust and filling. This foundational step is crucial for achieving the perfect balance of flavors and textures.
Making the Pie Crust
To make the pie crust, we mix flour with salt, then add cold butter until the mixture resembles coarse crumbs. Gradually adding ice water helps the dough come together. We recommend keeping all ingredients cold for a flaky texture.
Preparing the Pea Filling
For the filling, we start by draining canned peas and patting them dry. Sautéing the peas with butter, onions, and a pinch of salt and pepper enhances their flavor. We then blend the peas with cream, eggs, and herbs to create a balanced mixture.
Assembling the Pie
When assembling the pie, we chill the prepared crust before adding the warm filling. This helps maintain the crust’s structure during baking. Finally, crimping the edges ensures a secure seal and an attractive finish.
Baking Instructions
With the pie assembled, it’s time to bake it to a perfect golden brown. Baking is a critical step that requires attention to temperature and timing to achieve the ideal crust and filling.
Temperature and Timing
Preheat your oven to 375 degrees F (190 degrees C). We recommend placing the pie on the middle rack to ensure even heat distribution. Bake for 45 to 60 minutes, or until the top is golden brown. For the first 20 minutes, bake at 375°F (190°C), then reduce the oven temperature to 350°F (175°C) to prevent over-browning.
| Baking Stage | Temperature (°F) | Time (minutes) |
|---|---|---|
| Initial Baking | 375 | 20 |
| Final Baking | 350 | 25-40 |
Visual Cues for Doneness
The pie is done when the crust is golden brown, and the filling is slightly bubbly around the edges or through the vents in the top crust. If the edges brown too quickly, cover them with foil or a pie shield.
Cooling and Setting
After baking, let the pie cool for at least 30 minutes before slicing. This allows the filling to set properly. For cleaner slices, let the pie cool completely, about 2 hours at room temperature.
Expert Tips for a Perfect Result Every Time
To ensure your pie turns out perfectly every time, consider these expert tips. Making a great peas in a can pie involves more than just following a recipe; it requires attention to detail and a few insider tricks.
Common Mistakes to Avoid
One of the most common mistakes is overworking the dough, which can lead to a tough crust. Another critical error is not properly draining the canned peas, resulting in excess moisture that can make the crust soggy. Additionally, be mindful of your time; rushing the cooling process can cause the filling to be runny.
Make-Ahead Options
For convenience, you can prepare the crust and filling separately up to 24 hours in advance. Store them in the refrigerator until you’re ready to assemble and bake. This recipe flexibility is a significant advantage when planning meals ahead.
Troubleshooting Guide
If your filling is too runny, consider adding an extra egg or a tablespoon of flour to improve its setting properties. For a crust that’s browning too quickly, tent it with aluminum foil to slow the process. These adjustments will help you achieve a perfectly baked pie.
Delicious Variations to Try
Our peas in a can pie serves as a canvas for a wide range of creative variations, allowing you to experiment with different flavors and ingredients while maintaining its comforting essence.
Adding Protein Options
To boost the protein content of your pie, consider adding diced ham, crumbled bacon, or shredded chicken. Each of these should be fully cooked before being incorporated into the pea mixture. For instance, adding 4 ounces of diced ham or 6 slices of crumbled bacon can significantly enhance the flavor and texture.
Herb and Spice Combinations
Herbs and spices can dramatically change the character of your pie. Try pairing peas with fresh mint for a classic combination, or mix thyme, rosemary, and ground black pepper for a more complex profile. For a Mediterranean twist, incorporate olive oil, crumbled feta cheese, and dried oregano into your filling.
Vegetarian and Vegan Adaptations
For vegetarian adaptations, sautéed mushrooms and increased cheese content can add richness and umami flavor. Vegan versions can be achieved by substituting plant-based butter in the crust and using a mixture of silken tofu and nutritional yeast in place of cream and cheese in the filling.
| Variation | Ingredients to Add | Resulting Flavor |
|---|---|---|
| Protein Boost | Diced ham (4 oz), crumbled bacon (6 slices), or shredded chicken (1 cup) | Enhanced savory flavor |
| Mediterranean Twist | Olive oil (1 tbsp), crumbled feta cheese (½ cup), dried oregano (2 tsp) | Salty, herby flavor |
| Vegetarian Delight | Sautéed mushrooms (8 oz), additional cheese (1½ cups) | Rich, earthy flavor |
| Vegan Version | Plant-based butter, silken tofu (8 oz), nutritional yeast (3 tbsp) | Creamy, cheesy flavor without dairy |
Enjoying Your Homemade Pea Pie Creation
As we conclude our journey through the ultimate peas in a can pie recipe, we’re excited to share how to enjoy this delightful dish to its fullest. Our peas in a can pie serves 6-8 people generously, making it perfect for family dinners or small gatherings.
To balance the richness of the pie, we recommend serving each slice with a small side salad dressed with olive oil and lemon. The pie keeps well in the refrigerator for up to 3 days and can be reheated in a 350°F oven for 10-15 minutes.
For the best flavor experience, pair this pea pie with a crisp white wine like Sauvignon Blanc. Leftover pie can be transformed into new meals, such as cutting it into small squares for an appetizer or crumbling it over mixed greens for a hearty salad.
