At Historical Foods, we’re passionate about preserving the rich heritage of traditional bread making. Bread has been a cornerstone of culinary traditions worldwide, providing sustenance and nourishment across cultures. The art of crafting flavorful breads using time-honored techniques is a skill worth mastering.
Our comprehensive guide will walk you through the essentials of authentic baking, from selecting quality ingredients to mastering traditional methods that yield exceptional results. Whether you’re a novice baker or an experienced bread enthusiast, we’ll provide you with the knowledge needed to create rustic, flavorful loaves with authentic historical character. For more on historical food practices, visit our page on past food.
Key Takeaways
- Understanding the historical significance of bread making and its role in culinary traditions.
- Learning traditional bread making methods that have stood the test of time.
- Mastering the art of crafting flavorful breads using quality ingredients.
- Gaining practical skills and knowledge to create authentic, rustic loaves.
- Exploring the revival of traditional baking and its significance in modern times.
The Art of Historical Bread Making
As we explore the history of bread making, we uncover the traditions and techniques that have been passed down through generations. Bread has been a staple food across civilizations, playing a significant role in shaping culinary cultures worldwide.

Ancient Bread Traditions Through the Ages
The evolution of bread making dates back to prehistoric times, with early flatbreads giving way to more sophisticated loaves in ancient Egypt, Greece, and Rome. Each region developed unique bread making techniques based on available ingredients and cultural preferences. For instance, ancient Egyptians used yeast to leaven their bread, a technique that was later adopted by other civilizations.
We can see the influence of historical bread making in modern recipes, such as the sweetroll, which combines traditional ingredients with contemporary flavors.
| Civilization | Bread Making Technique | Key Ingredients |
|---|---|---|
| Ancient Egypt | Yeast leavening | Flour, water, yeast |
| Ancient Greece | Hand-kneading | Flour, water, olive oil |
| Ancient Rome | Wood-fired ovens | Flour, water, salt |
Why Rustic Bread Making Is Making a Comeback
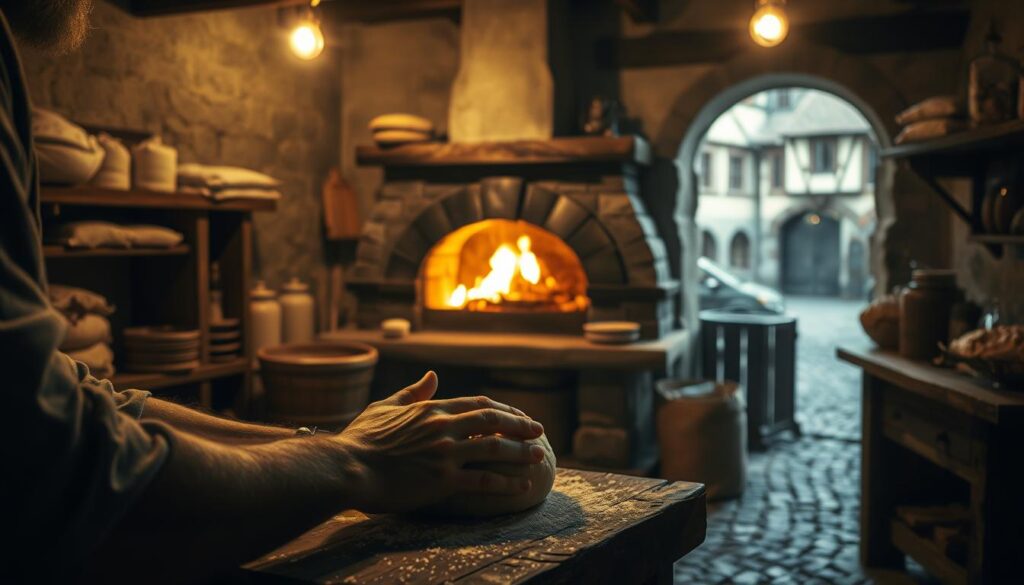
In recent years, there has been a resurgence of interest in traditional bread making techniques, driven in part by the slow food movement. Modern bakers are returning to rustic methods, including natural leavening, hand-kneading, and wood-fired ovens, to create bread that is not only delicious but also more nutritious. This shift reflects a broader cultural desire to reconnect with our food heritage and adopt more mindful consumption practices.
By embracing the art of historical bread making, we can feel like we’re part of a long tradition that values quality, craftsmanship, and community. Whether you’re a seasoned baker or just starting out, there’s one thing that’s certain: the joy of creating something delicious and meaningful is a truly rewarding experience.
We’ve Got Bread: Essential Ingredients for Authentic Loaves
To create bread that’s truly authentic, you need to start with the right foundation – the ingredients. At Historical Foods, we believe that understanding the role of each ingredient is crucial to baking loaves that are not only delicious but also steeped in tradition.
Flour Varieties and Their Impact on Texture
The type of flour used in bread making significantly affects the final texture and flavor profile. We explore the differences between all-purpose, bread, whole wheat, rye, and ancient grain flours. For instance, bread flour, with its higher protein content, is ideal for chewy loaves, while all-purpose flour provides a versatile option for a variety of bread types. The protein content in flour affects gluten development, which in turn influences the structure and chewiness of your bread.
The Role of Yeast vs. Baking Powder
Leavening agents are crucial for making bread rise. We compare traditional leavening agents like wild yeast and sourdough starters with modern alternatives such as commercial yeast and baking powder. While yeast fermentation offers complex flavors, baking powder provides a quicker, yeast-free alternative. Understanding when to use each is key to achieving the desired flavor and texture in your bread.
Flavor Enhancers: Seeds, Herbs, and Spices
Seeds, herbs, and spices have been used historically not just to add flavor but also for preservation and nutritional enhancement. Ingredients like poppy seeds, tarragon, and garlic powder can add unique flavors and textures to your bread. For example, incorporating seeds like sesame or sunflower can enhance the nutritional profile and add crunch.
Sweeteners and Fats: Honey, Sugar, and Butter
Sweeteners and fats play a significant role in bread making, affecting moisture content, flavor, and crust development. Honey adds sweetness and helps maintain a moist texture, while brown sugar contributes a rich sweetness. Butter, on the other hand, adds richness and moisture to the dough, enhancing the overall flavor and texture of the bread.
Mastering Historical Bread Techniques
By understanding and applying historical bread techniques, you’ll be able to craft loaves that are both delicious and authentic. Historical bread making is an art that has been refined over centuries, with various techniques being passed down through generations.
Mixing and Kneading Methods
Mixing and kneading are crucial steps in bread making. We combine ingredients in a large bowl, whisking together flour, baking powder, and other dry ingredients before adding wet ingredients like melted butter and honey. The dough’s consistency is key; it should be thick and sticky, requiring some elbow grease to mix.
Kneading develops gluten, which affects the bread’s final texture. We can knead by hand or use a machine. Hand kneading provides control and feel, while machine mixing is faster and more consistent. The goal is to achieve a smooth, elastic dough.
The Art of Proper Proofing
Proofing is a critical step where the dough rises. Temperature, humidity, and time interact to create the perfect environment. We place the dough in a greased bowl, cover it, and let it rise in a warm, draft-free area. The dough should double in size, indicating it’s ready for baking.
Creating the Perfect Crust
The crust is a defining feature of bread. To achieve the desired crust texture, we can use various techniques. For a crispy crust, baking with steam or using a preheated stone can help. For a softer crust, we might cover the bread during baking or use a different type of pan.
Baking Temperature and Timing Secrets
Baking is the final step, where the bread is transformed into a golden-brown loaf. Preheat your oven to 375°F. The baking time varies, but generally, it takes around 45-minutes to an hour. We check for doneness by looking at the color, sounding the bottom, or using a thermometer.
To illustrate the baking process, let’s look at a simple recipe. Combine dry ingredients in a large bowl, then add wet ingredients. Mix until a sticky dough forms. Grease a pan and shape the dough into a loaf. Place it in the oven and bake for 45-minutes. After baking, let the bread cool completely on a wire rack.
| Baking Method | Temperature | Time | Crust Texture |
|---|---|---|---|
| Conventional Oven | 375°F | 45-60 minutes | Crispy |
| Steam Injection | 425°F | 20-30 minutes | Chewy |
| Dutch Oven | 450°F | 30-40 minutes | Crusty |
From Hearth to Table: Serving Your Homemade Bread
As we conclude our journey through historical bread making, let’s explore how to keep your freshly baked loaves fresh and delicious. Proper storage is key to maintaining the quality of your homemade bread.
Storage Tips for Maximum Freshness
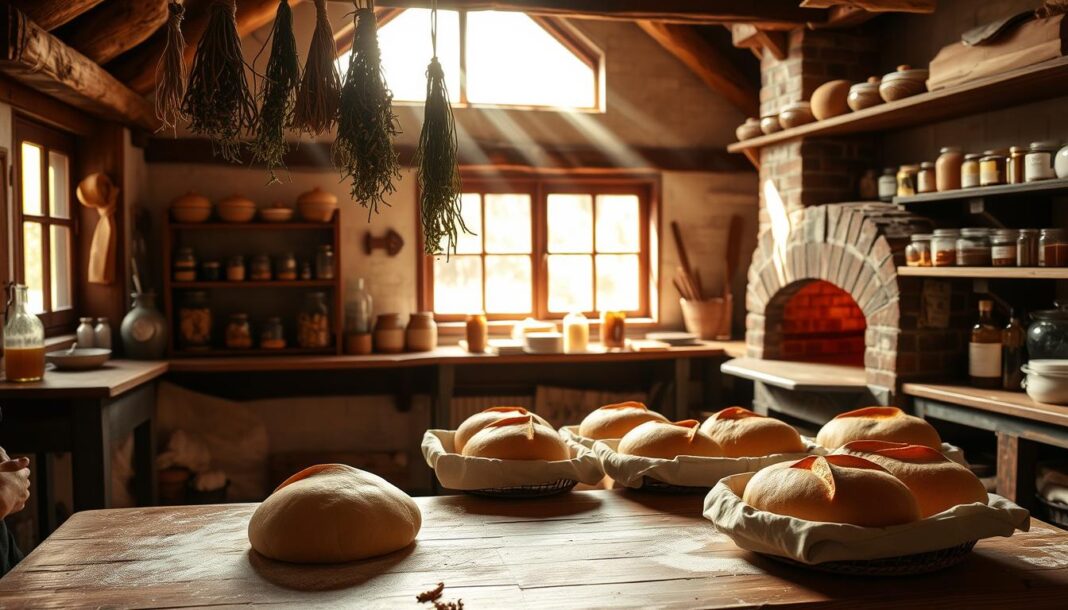
To keep your bread fresh, store it in a clean, dry environment. Wrap it in a cloth or store it in a bread box to allow for airflow, which helps prevent moisture buildup and keeps the crust crisp. Avoid storing bread in plastic bags, as they can trap moisture and make the crust soggy. For longer storage, consider freezing your bread. Simply wrap it tightly in plastic or aluminum foil and store it in the freezer for up to a month. When you’re ready to enjoy it again, thaw the bread at room temperature or refresh it in the oven.
Pairing Suggestions for Different Bread Types
The right pairing can elevate your bread-eating experience. For a hearty, crusty bread like our Game of Thrones-inspired blackened bread, try pairing it with clotted cream and a cold drink. The richness of the cream complements the bread’s robust flavor, making it a perfect snack for a cozy evening with friends. For lighter breads, consider pairing them with olive oil, herbs, or compound butters to enhance their flavor without overpowering them.


