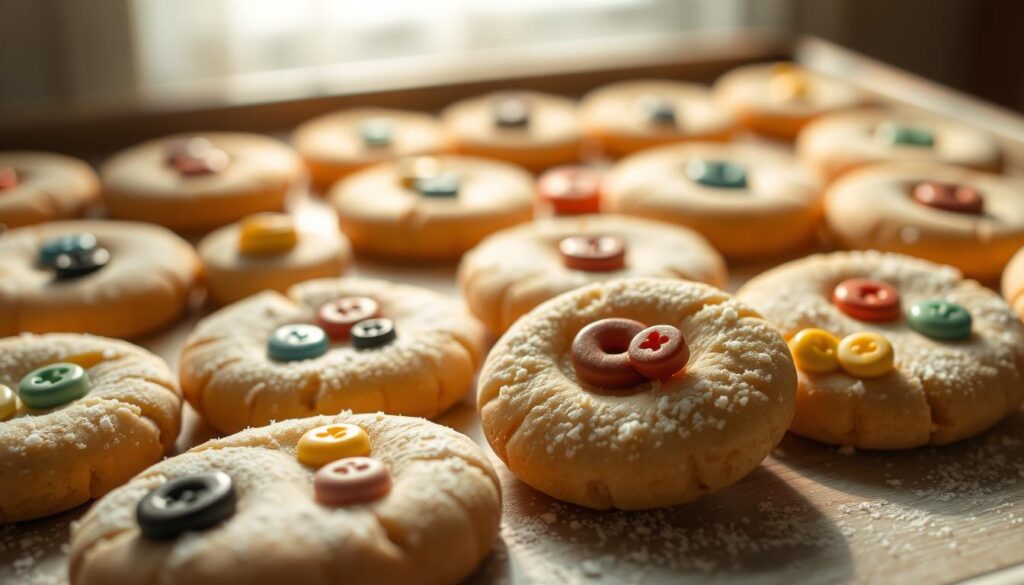
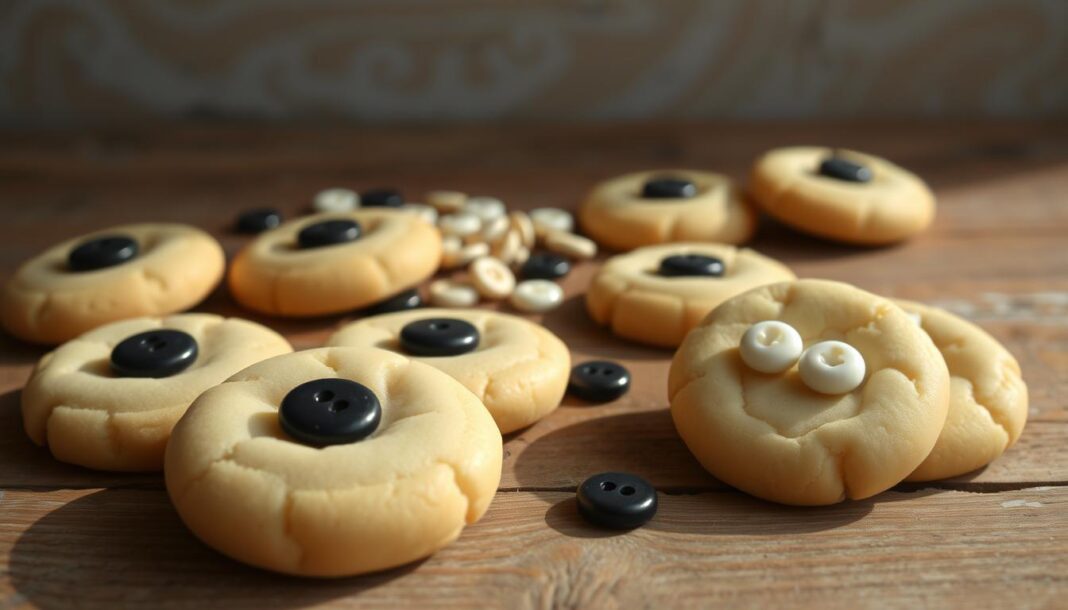
Step into the enchanting world of Coraline button cookies, a delightful treat inspired by Neil Gaiman’s dark fantasy novella and its subsequent film adaptation. These visually striking cookies perfectly capture the eerie charm of the Other Mother’s button eyes, making them a unique addition to any Halloween or themed party.
Our comprehensive guide walks you through creating these distinctive button cookies that maintain their shape throughout the baking process. We’ve tested multiple approaches to ensure the perfect texture—crisp edges with a tender center—that makes these cookies both visually appealing and delicious.
Key Takeaways
- Learn how to create Coraline-inspired button cookies with a tested recipe.
- Understand the science behind achieving the perfect cookie texture.
- Discover tips for maintaining the button shape during baking.
- Explore the inspiration behind these unique cookies from Neil Gaiman’s novella.
- Get guidance on ingredient selection and troubleshooting common issues.
The Story Behind Coraline Button Cookies
The eerie charm of Coraline’s button eyes has inspired a batch of cookies that are both visually striking and scrumptious. If you’re a fan of Neil Gaiman’s Coraline or planning a Halloween party with a spooky twist, these Button Eye Butter Cookies are the perfect addition to your table.

Neil Gaiman’s Coraline Inspiration
The Coraline story, rich in eerie and whimsical elements, has captivated audiences worldwide. The button cookies draw inspiration from the movie’s iconic button eyes, offering a creative way to bring this narrative element to life in culinary form. We explore how this literary reference elevates the Halloween experience.
Why These Cookies Make Perfect Halloween Treats
Coraline button cookies have become increasingly popular as Halloween treats due to their unique blend of whimsy and eeriness. Here are some reasons why they’re ideal for the season:
- They offer a sophisticated alternative to common Halloween motifs.
- These cookies are versatile, suitable for both children’s and adult-oriented Halloween gatherings.
- Their visual impact makes them an instant conversation starter.
| Aspect | Description | Benefit |
|---|---|---|
| Design | Button design inspired by Coraline | Sophisticated Halloween treat |
| Versatility | Suitable for various Halloween events | Perfect for different age groups |
| Visual Impact | Eye-catching due to button eye design | Instant conversation starter |
Essential Ingredients for Coraline Button Cookies
Let’s dive into the essential ingredients needed for Coraline Button Cookies. To achieve the iconic look and taste of these cookies, it’s crucial to start with the right base ingredients and the correct food coloring.
Base Cookie Ingredients
The foundation of Coraline Button Cookies lies in their base ingredients, which include butter, sugar, flour, and other dry ingredients. Selecting the right quality and type of these ingredients is vital.
Butter and Sugar Selection
For the best flavor, we recommend using high-quality unsalted butter and granulated sugar. The butter should be at room temperature to ensure it creams properly with the sugar.
Flour and Other Dry Ingredients
All-purpose flour is ideal for these cookies. Additionally, you’ll need baking powder and a pinch of salt to enhance the flavor and texture.
Food Coloring Options
Achieving the signature button eyes of Coraline requires precise food coloring. We prefer using gel food coloring over water-based coloring due to its vibrant colors and ease of use.
Gel vs. Water-Based Food Coloring
Gel food coloring provides a more concentrated color, requiring less product to achieve the desired shade. This is particularly beneficial when creating deep colors like black and vermilion.
Color Formulas for Authentic Button Eyes
To achieve the authentic button eyes, we use specific color formulas. For instance, to create black, we mix 3 to 4 drops of Deep Black gel coloring and adjust with Leaf Green to counteract any purple/red lean. Here’s a summary of the color formulas in a tabular format:
| Color | Formula |
|---|---|
| Black | 3-4 drops Deep Black + adjust with Leaf Green |
| Bubblegum Pink | 2 drops Bubblegum Pink |
| Vermilion | 4 drops Super Red + 2 drops Sunset Orange |
| Chartreuse | 4 drops Lemon Yellow + 1 drop Leaf Green |
| Coraline Blue | 4 drops Royal Blue + 4 drops Delphinium Blue + 1 drop Sky Blue + 1 drop Super Red |
Step-by-Step Coraline Button Cookies Preparation
Now that we have our ingredients ready, it’s time to dive into the process of making Coraline Button Cookies. The preparation involves several key steps that require attention to detail to achieve the desired outcome.
Making the Cookie Dough
To start, we need to mix the cookie dough. In the bowl of an electric standing mixer fitted with a paddle attachment, we cream together the butter and sugar until light and fluffy, about 3 to 4 minutes.
Creaming Butter and Sugar
This initial step is crucial as it incorporates air into the mixture, giving the cookies a tender texture. Ensure the butter and sugar are well combined and fluffy.
Adding Eggs and Vanilla
Next, we add in the eggs, one at a time, beating until well incorporated, about 2 to 3 minutes more. Then, we beat in the vanilla. This adds moisture and flavor to the cookies.
Dividing and Coloring the Dough
After preparing the dough, we divide it into five equal-sized portions to create different colored buttons. We use food coloring to achieve the desired shades.
Creating Five Different Button Colors
We add a few drops of food coloring into each portion to create black, vermilion (red-orange), chartreuse (yellow-green), pink, and blue buttons. Using a silicone spatula helps to fully incorporate the coloring.
Proper Dough Refrigeration
Cover the bowls with plastic wrap and refrigerate the dough for at least 1 hour and up to 48 hours before baking. This step is essential for the dough to firm up, making it easier to work with.
Shaping the Button Cookies
Once the dough is chilled, we divide it into balls about 1 tablespoon (8 g) in size. We arrange the cookies about 2-inches (5-cm) apart on the baking sheets.
Using Bottle Caps for Button Impressions
With a plastic bottle cap, we press divots into the cookies, giving them the effect of a flat center and rounded edges. Occasionally coating the bottle cap with flour prevents it from sticking to the cookies.
Creating Button Holes with Straws
Using a standard-sized plastic straw, we cut holes into the flat part of the cookie to create button holes. The straw should be pressed into the dough gently but firmly to create clean holes. For the most authentic Coraline button appearance, using a straw of the right diameter is crucial.
To achieve clean button holes, it’s essential to use the right technique. The timing of creating the holes is crucial—making them before baking produces better results than attempting to create them after baking. A slight twisting motion when removing the straw creates cleaner holes that maintain their shape during baking.
Baking Your Coraline Button Cookies
Baking is the crucial step that brings our Coraline Button Cookies to life. At this stage, we transform the prepared dough into perfectly baked treats that are both delicious and visually appealing.
Oven Temperature and Timing
Preheat your oven to the correct temperature, and bake the cookies for 8 to 9 minutes or until the edges are set. Precision is key to achieving the right texture. It’s essential to bake the cookies one tray at a time to maintain control over the baking process.
Maintaining Button Shape During Baking
To keep the button shape intact, we need to take a few extra steps. Immediately after pulling the cookies from the oven, use a bottle cap to gently press into the divot again, re-flattening any parts that may have risen or puffed during baking.
Pre-Baking vs. Post-Baking Shaping
We experimented with cutting out the button holes before and after baking. Cutting before baking yields better results, although the holes may expand slightly. Re-cutting the holes after baking can refine the edges.
Re-Pressing Techniques
Re-pressing the cookies immediately after baking helps maintain their shape. This technique ensures that the cookies retain their button-like appearance.
Cooling and Storage Methods
A two-stage cooling process is recommended for the best texture. First, let the cookies cool on the baking sheet for 3-5 minutes. Then, transfer them to a wire rack to cool completely. This method prevents soggy bottoms and ensures even cooling.
- Cool the cookies briefly on the baking sheet before transferring them to a wire rack.
- Use airtight containers with parchment paper between layers to preserve texture and appearance.
- Store at room temperature for up to 5-6 days or freeze for longer-term storage (up to 3 months).
Troubleshooting Common Issues with Button Cookies
We’ve experimented with various techniques to help you troubleshoot common issues with your Button Cookies. Baking these cookies can be a bit tricky, but with the right approach, you can achieve beautiful and delicious results.
Cookies Losing Their Shape
One of the main challenges when baking Button Cookies is maintaining their shape. To prevent this, it’s crucial to weigh your ingredients and dough accurately. This ensures that your cookies bake evenly and retain their form. Additionally, shaping the cookies before baking by pressing down the center with a plastic bottle cap and cutting out the button holes with a straw helps maintain the iconic button shape.
Button Holes Closing During Baking
Button holes can close during baking if the cookies are not properly shaped or if they are not pressed down immediately after baking. To fix this, gently press down on the center of the cookie with the bottle cap again right after pulling the tray from the oven. You can also re-cut the button holes with a straw to give them a clean edge.
Color Bleeding and Fading
Food coloring can sometimes bleed or fade during the baking process. This issue can be attributed to the type of coloring used and how it interacts with other ingredients. Using gel or powder food coloring can help improve color retention, as they tend to be more stable than liquid coloring. Moreover, being mindful of the fat content and pH levels in your cookie dough can also impact color vibrancy. Overbaking is another primary cause of color fading, so it’s essential to bake your cookies until they’re just done. Proper storage conditions, such as keeping the cookies in an airtight container, can help preserve the colors.
By following these tips, you can overcome common issues and achieve beautifully colored and shaped Button Cookies that are perfect for any Coraline-themed treat.
- Use the right type of food coloring for better color retention.
- Be precise with your ingredient measurements to ensure cookies bake evenly.
- Shape your cookies carefully before and after baking to maintain their iconic shape.
Creative Serving Ideas for Your Coraline-Themed Treats
Bring the Other World to life with our Coraline Button Cookies and creative presentation ideas. As we approach Halloween, these Coraline-themed treats become a must-have for any spooky celebration. To enhance their thematic impact, consider arranging the cookies by coloring to reference specific scenes from the movie Coraline. For instance, grouping cookies with similar button designs or eyes can create a visually striking display.
Pairing these cookies with complementary food and beverages can further elevate the experience. Consider serving them with a “ghostly” punch or alongside other gothic-inspired desserts. The key is to create an immersive experience that delights both the eyes and the taste buds. Using themed serving platters and decorative elements can also enhance the presentation, making the cookies a true centerpiece of your Coraline-themed party.
For those looking to share their creations, our cookie packaging ideas will help preserve both the appearance and freshness of the treats. Whether you’re hosting a Coraline-themed party or simply enjoying a movie night, these creative serving ideas will help you bring the magic of Coraline to life in a delicious and visually stunning way.


