Cooking dried beans is a fundamental culinary skill that delivers both nutritional benefits and exceptional flavor when done correctly. At its most basic, the cooking process involves simmering the beans in water until they’re soft, with optional soaking to speed things up.
We will guide you through the entire cooking process, from selecting the right varieties to achieving that perfect tender texture without mushiness. Understanding the science behind bean preparation helps explain why certain techniques—like soaking and proper salt timing—dramatically improve both texture and digestibility.
Key Takeaways
- Master the art of cooking beans for superior texture and flavor.
- Learn the benefits of soaking and proper seasoning timing.
- Discover how to achieve perfectly cooked dried beans every time.
- Understand the advantages of different cooking methods.
- Enhance your dishes with properly cooked beans.
Understanding Different Types of Beans
Understanding the different types of beans is crucial for achieving the perfect flavor and texture in your culinary creations. Beans are a staple ingredient in many cuisines, offering a rich source of protein, fiber, and various essential nutrients. The diverse world of beans encompasses a range of flavors, textures, and cooking characteristics, making bean selection a critical step in cooking.
Common Bean Varieties and Their Characteristics
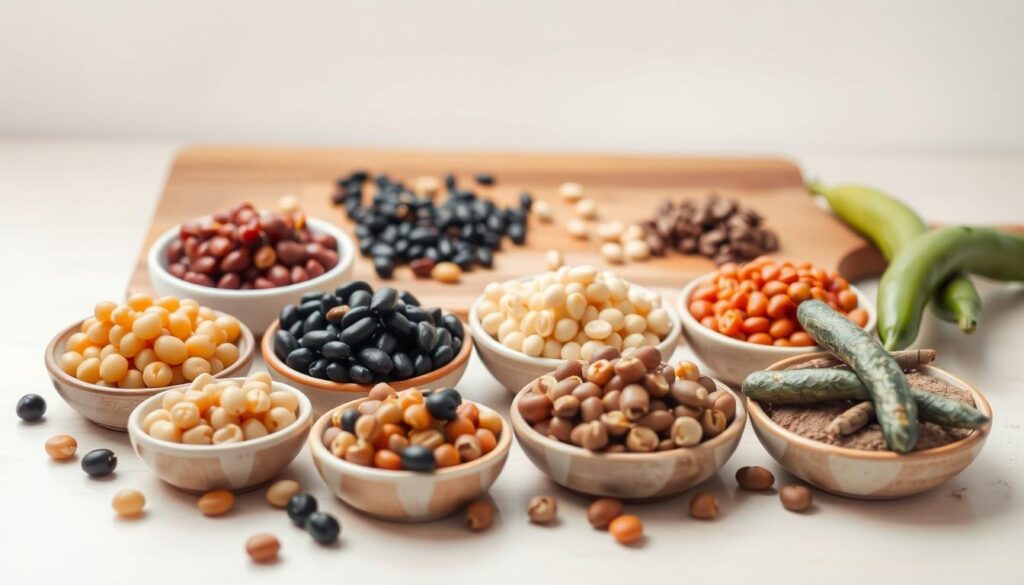
Different bean varieties offer distinct flavors, textures, and cooking characteristics. Common bean varieties include black beans, known for their earthy and sweet flavor; navy beans, which are mild and creamy; kidney beans, hearty and meaty; pinto beans, nutty when cooked; chickpeas or garbanzo beans, firm and versatile; and cannellini beans, tender with a subtle flavor. The size of the bean directly affects its cooking time, with smaller varieties like adzuki beans cooking much faster (35-40 minutes) than larger beans like Royal Corona or lima beans, which may require 90+ minutes.
| Bean Variety | Cooking Time | Flavor Profile | Texture |
|---|---|---|---|
| Black Beans | 45-60 minutes | Earthy, Sweet | Firm |
| Navy Beans | 60-90 minutes | Mild, Creamy | Soft |
| Pinto Beans | 60-90 minutes | Nutty | Creamy |
| Cannellini Beans | 45-60 minutes | Subtle, Tender | Soft |
Special Considerations for Different Bean Types
The age of dried beans dramatically impacts their cooking time and quality. Fresher beans (less than two years old) cook more evenly and quickly than older beans, which may never fully soften. Understanding yield ratios is also helpful for meal planning: one cup of dried beans typically yields about three cups of cooked beans, while one pound (about two cups) yields approximately six cups cooked. Some bean varieties require special handling, such as kidney beans, which contain higher levels of phytohemagglutinin and should always be thoroughly cooked.
When substituting between bean varieties, consider both flavor profile and texture. For instance, cannellini beans can often replace navy beans, but the subtle flavor differences will slightly alter your dish. Heirloom bean varieties, while sometimes more expensive, often offer superior flavor and texture compared to mass-produced varieties.

Preparing Dried Beans Before Cooking
The preparation of dried beans is a crucial step that significantly impacts their cooking time and digestibility. Proper preparation involves several key steps that ensure your beans turn out perfectly cooked and are safe to eat.
Sorting and Cleaning Your Beans
Before cooking, it’s essential to sort through your dried beans to remove any debris or damaged beans. Spread the beans on a light-colored surface and pick out any small stones, twigs, or shriveled/discolored beans. This step is crucial for both food safety and the quality of your final dish. Removing debris helps prevent any unwanted textures or flavors.
To Soak or Not to Soak: Benefits and Methods
Soaking dried beans can significantly reduce their cooking time and make them easier to digest. To soak beans, place them in a large bowl, cover them with water by 2 to 3 inches, and let them soak for at least 8 hours or overnight. Discard any beans that float to the surface. After soaking, drain and rinse the beans before cooking.
| Soaking Method | Description | Benefits |
|---|---|---|
| Traditional Soaking | Soak beans in water for 8-12 hours | Reduces cooking time, improves digestibility |
| Quick-Soak Method | Boil beans for 2 minutes, then let sit for 1 hour | Quick alternative, still reduces cooking time |
Quick-Soak Method for Last-Minute Cooking
For those short on time, the quick-soak method is a practical alternative. Simply bring the dried beans to a boil in water, let them boil for 2 minutes, then remove from heat and let them sit covered for 1 hour. After this, drain and rinse the beans before proceeding with your recipe.
Basic Stovetop Boiled Beans Technique
The stovetop method remains the most versatile technique for cooking beans, offering complete control over the cooking process. This method allows you to monitor the texture development of your beans closely, ensuring they are cooked to your liking.
Essential Equipment Needed
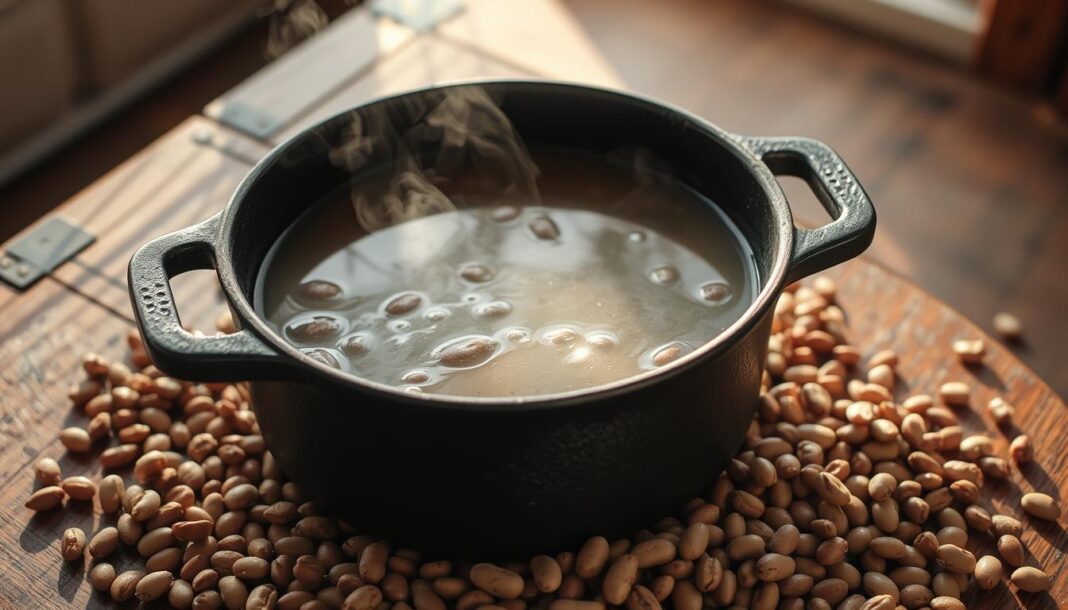
To cook beans perfectly on the stovetop, you’ll need a few essential pieces of equipment. A heavy-bottomed pot, preferably made of cast iron or stainless steel, is crucial for even heat distribution and preventing scorching. We recommend using a pot that’s at least 4-5 quarts in size for cooking one pound of beans. This provides ample room for the beans to expand and for proper water circulation during cooking. A tight-fitting lid is also necessary to prevent the water from evaporating too quickly.
Step-by-Step Cooking Process
Begin by adding your soaked beans to the pot along with their soaking water (or fresh water if you prefer). Ensure the beans are covered by at least 2 inches of liquid throughout cooking. If you’ve sautéed vegetables, add them to the pot and give it a good stir. Next, raise the heat to medium-high and bring the mixture to a hard boil. Maintain this boil for about 10-15 minutes. After this initial boil, reduce the heat to maintain a gentle simmer. You should see occasional bubbles breaking the surface, but not a rolling boil which can cause the bean skins to split.
As the beans cook, it’s essential to monitor their texture. Cooking time will vary based on the type of beans, their freshness, and whether they were soaked. Generally, small beans like black beans might cook in 45-60 minutes, while larger varieties could take 90-120 minutes. Adding salt during cooking, typically after the beans begin to soften, enhances flavor development and helps the beans cook more evenly.
How to Tell When Beans Are Perfectly Cooked
Properly cooked beans should be tender throughout but still maintain their shape. To check, sample a few beans and ensure they’re creamy inside without any chalky or hard centers. This simple test will help you determine if your beans are cooked to perfection.
Adjusting Cooking Times for Different Bean Varieties
Cooking time can vary significantly based on the bean variety. For example, smaller beans like black beans or lentils cook more quickly than larger varieties like lima or kidney beans. Always refer to specific cooking guidelines for the type of beans you’re using, and adjust the cooking time as needed.
Alternative Cooking Methods for Beans
Beyond the stovetop, various cooking techniques can enhance the bean-cooking experience, offering convenience and efficiency. While traditional stovetop cooking provides control, alternative methods like oven-baking, slow cooking, and pressure cooking offer distinct advantages for different situations.
Oven-Baked Beans Method
The oven-baked method, often referred to as the Parsons Method, creates exceptionally evenly cooked beans with minimal supervision. To use this method, combine 1 pound of beans with 6 cups of water in a Dutch oven. Add aromatics like garlic, onion, or bay leaves if desired. Bring the mixture to a simmer on the stovetop for 10 minutes, then cover the pot and transfer it to a 350°F oven. Cooking time can range from 1 to 2 hours, depending on the bean type and age. Add 1 teaspoon of salt once the beans begin to soften, and check the water level frequently, adding hot water as needed to prevent drying out.
Slow Cooker/Crockpot Technique
Slow cookers or crockpots offer the ultimate convenience for cooking beans. Simply combine sorted beans with aromatics and water using a 1:4 ratio of beans to water. Set the cooker to high for 4-6 hours or low for 8-10 hours. This method is particularly valuable for those with busy schedules, as it requires minimal attention and eliminates the risk of beans boiling over or scorching. The slow cooker method develops clear, rich broths over its extended cooking time.
Pressure Cooker and Instant Pot Methods
Pressure cookers and Instant Pots represent the fastest method for cooking beans, reducing cooking times by up to 75%. Most bean varieties cook in just 20-40 minutes under pressure. When using a pressure cooker, we recommend natural pressure release rather than quick release to prevent beans from becoming mushy or splitting their skins. This method creates intensely flavored but sometimes cloudy broths.
Regardless of the chosen method, initial sorting and cleaning of beans are still recommended. While soaking remains optional, it can further reduce cooking times when using these alternative techniques. The water-to-bean ratio becomes critical in enclosed cooking environments, generally requiring more water than stovetop cooking due to minimized evaporation.
Flavoring Your Boiled Beans
The art of cooking beans isn’t just about boiling them; it’s about infusing them with flavor. When done correctly, boiled beans can transform from a simple side dish into a memorable culinary experience. The cooking liquid develops into a rich, flavorful broth that’s valuable in its own right. In this section, we’ll explore the essential techniques for flavoring your boiled beans to perfection.
Essential Aromatics and When to Add Them
Aromatics are the foundation of bean flavoring. We recommend sautéing aromatics like onions, carrots, celery, garlic, bay leaves, and herbs in fat before adding beans and water. This process releases fat-soluble flavor compounds that infuse throughout the cooking liquid. A classic combination is the mirepoix of onions, carrots, and celery, which provides a depth of flavor that’s hard to beat.
- Aromatics should be added at the beginning of cooking.
- Sautéing aromatics in fat enhances the overall flavor of the dish.
Seasoning Guidelines: Salt, Spices, and Herbs
Seasoning is crucial for bringing out the flavor in your beans. Salt should be added after the beans begin to soften, typically 30-45 minutes into cooking. Whole spices like bay leaves and peppercorns can be added at the beginning, while ground spices are best added in the final 30 minutes to prevent their flavors from dissipating. Fresh herbs can be divided into hardy and tender categories, with hardy herbs like rosemary added early and tender herbs like parsley added just before serving.
- Regional bean traditions offer excellent guidance on seasoning.
- For a Mediterranean twist, try using olive oil, garlic, and rosemary.
Adding Acidic Ingredients Without Toughening Beans
Acidic ingredients like tomatoes, citrus juice, or vinegar can prevent beans from softening if added too early. Always add these components after beans have reached desired tenderness, typically in the final 15-20 minutes of cooking. For a flavorful broth, consider using vegetable stock instead of water and incorporating umami-rich ingredients like dried mushrooms or miso paste.
For more inspiration on using beans in various dishes, check out our article on medieval soup recipes.
Troubleshooting Common Bean Cooking Problems
Even experienced cooks can encounter issues when cooking beans, but understanding the science behind these problems can help. Cooking beans can be a straightforward process if you know how to address common challenges.
Why Beans Stay Hard After Cooking
Hard beans that refuse to soften despite extended cooking time can be frustrating. Several factors contribute to this issue, including using beans that are too old (over 2 years), cooking with hard mineral-rich water, adding acidic ingredients too early, or cooking at too high an altitude without adjustments. To rescue your beans, try adding ¼ teaspoon of baking soda per pound of beans to the cooking water, creating an alkaline environment that helps break down bean skins and cellular structures.
Preventing and Fixing Mushy Beans
Mushy, blown-out beans usually result from aggressive boiling rather than gentle simmering. To prevent this, maintain a barely bubbling surface during the majority of cooking time. After the initial 10-15 minute boil, reduce heat to maintain just a few bubbles breaking the surface, and resist the urge to stir frequently. This helps preserve bean integrity.
Reducing the Gas-Producing Effects of Beans
The infamous gas-producing effect of beans comes from oligosaccharides (complex sugars) that humans cannot digest but intestinal bacteria can ferment. To reduce these compounds, thorough soaking and discarding the soaking water can help. Adding certain herbs and spices, such as epazote, kombu seaweed, fennel seeds, or cumin, can also aid digestion.
- Use fresh beans to ensure they cook evenly and thoroughly.
- Adjust cooking time and liquid when cooking at high altitudes.
- Experiment with different herbs and spices to reduce digestive discomfort.
Storing and Using Your Perfectly Boiled Beans
Now that you’ve mastered the art of boiling beans, let’s explore how to store and utilize them effectively. Properly storing cooked beans extends their usability and preserves their flavor and texture. You can store leftover beans in the refrigerator for up to 5 days or freeze them for later use.
When storing cooked beans in the refrigerator, keep them in their cooking liquid (bean broth) to prevent drying out. This liquid can be used in various recipes, such as poaching eggs or making soups. For freezing, cool the beans completely before transferring them to airtight containers, leaving about ½ inch of headspace.
Cooked beans are versatile and can be used in salads, soups, dips, and more. Different bean varieties lend themselves to specific applications—creamy cannellini beans work well in Italian dishes, while pinto beans excel in Mexican cuisine. One cup of cooked beans provides approximately 15 grams of protein, making them an excellent plant-based protein source.


