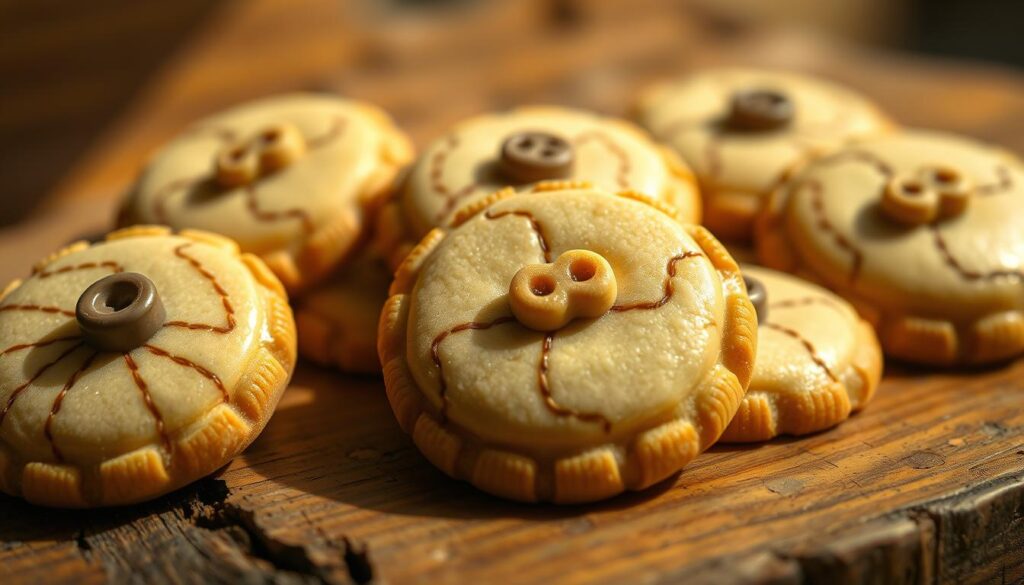
We delve into the world of spooky, yet family-friendly treats inspired by a modern gothic classic. The iconic button eyes from the movie have sparked a creative baking idea that combines visual appeal with delectable taste.
Our food historians have meticulously tested a recipe that captures the eerie charm of the beloved story. By comparing traditional butter cookie bases with peanut butter alternatives, we’ve determined the most authentic and delicious version.
These treats make a perfect Halloween treat, appealing to fans of the movie and seasonal bakers alike. Simple kitchen tools can transform ordinary cookie dough into perfectly shaped buttons with characteristic four holes, evoking the haunting eyes.
The Story Behind Coraline Button Cookies
The eerie charm of Coraline Button Cookies has captivated fans of Neil Gaiman’s novella and the stop-motion film adaptation. These cookies are not just a delicious treat but also a creative expression of the dark fantasy world that Coraline embodies.
Inspiration from Neil Gaiman’s Coraline
Neil Gaiman’s Coraline has become a cult classic, with its stop-motion film adaptation by Henry Selick bringing the haunting button eyes to life. The button eyes, a symbol of the Other Mother’s sinister intentions, have become an iconic visual motif in modern children’s literature. We’ve explored how these button eyes serve as a powerful symbol of the sacrifice of identity and humanity, making them particularly resonant when transformed into edible treats.

Why These Cookies Are Perfect for Halloween
Halloween’s celebration of the macabre and fantastical makes it the perfect occasion for Coraline-themed cookies. These button cookies bridge the gap between playful spookiness and genuine creepiness, making them excellent conversation starters at any seasonal gathering. Whether you’re hosting a Halloween party or a Coraline-themed movie night, these cookies are sure to be a hit.
The visual impact of button-shaped cookies on a Halloween dessert table creates an instantly recognizable reference for fans while intriguing those unfamiliar with the story. As a result, these cookies have evolved from fan creations to becoming standard recipes in the repertoire of Halloween baking enthusiasts who appreciate literary-inspired treats.
Essential Ingredients and Tools for Coraline Cookies
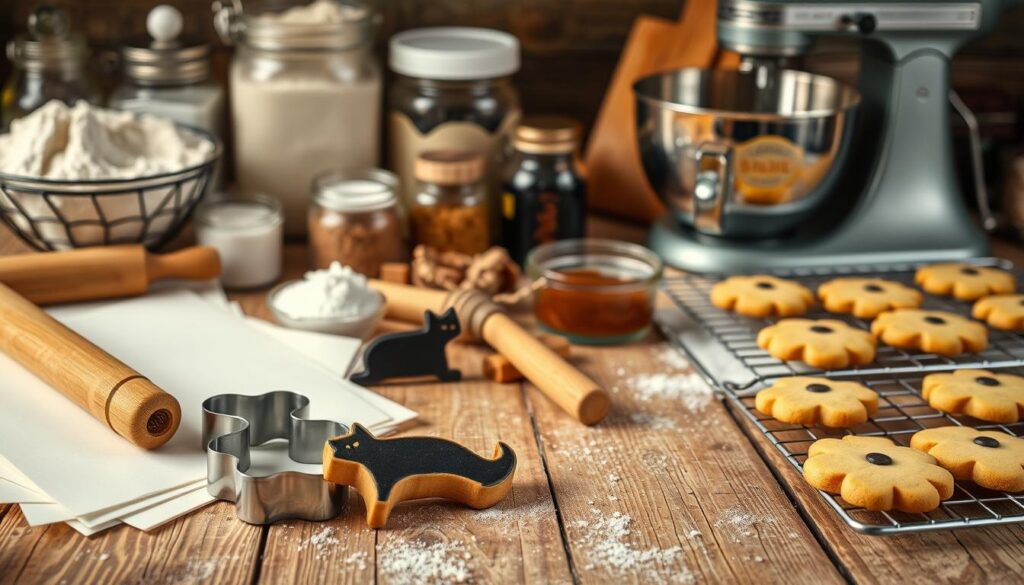
Making Coraline Button Cookies involves more than just a recipe; it demands the right ingredients and specialized tools. To achieve the perfect balance of flavor and visual appeal, we’ve identified key components that are crucial for this recipe.
Cookie Dough Ingredients
The foundation of our Coraline Cookies lies in the quality of the ingredients. We use butter as the primary fat, preferring salted butter for its rich flavor, though unsalted can be used with an addition of salt. Sugar, specifically granulated, adds sweetness, while eggs at room temperature ensure proper emulsion. Vanilla extract enhances the flavor, and all-purpose flour provides the necessary structure. For a detailed explanation of ingredient roles, we recommend checking our guide on original Girl Scout cookie recipes, which shares insights into the science behind baking.
Special Tools Needed
To achieve the characteristic button appearance, specific tools are required. A plastic bottle cap is used to create the button impression, and a standard drinking straw is utilized to cut out the four holes. These simple household items are crucial for capturing the essence of Coraline’s button eyes.

Food Coloring Guide for Authentic Button Colors
For authentic Coraline-inspired buttons, precise color formulas are essential. We recommend using gel food coloring for its vibrant pigmentation without altering the dough’s moisture content. Colors such as black, vermilion, chartreuse, pink, and blue are mixed to achieve the distinctive palette seen in the movie. By following our color guide, you can create cookies that are not only delicious but also visually striking.
Step-by-Step Coraline Cookies Recipe
To create the perfect Coraline cookies, follow our step-by-step guide that breaks down the process into manageable parts. Making these cookies involves several key steps, from preparing the dough to achieving the signature button shape and holes.
Preparing the Cookie Dough
The foundation of our Coraline cookies is a well-made dough. We begin by creaming together butter and sugar until light and fluffy, about 3 to 4 minutes. This crucial step incorporates air into the dough, creating the tender texture of the cookies. Next, we add eggs one at a time, beating until each is fully incorporated before adding the next, ensuring a smooth and cohesive dough. Finally, we beat in vanilla and stir in flour, bringing the dough together until it is cohesive and soft.
- Creaming butter and sugar incorporates air, creating a tender texture.
- Adding eggs one at a time ensures a smooth dough.
- Mixing in flour just until the dough comes together prevents overmixing.
Coloring the Dough
To achieve the signature buttons from Coraline, we need to color the dough. We divide the dough into five equal portions and place them into separate bowls. Using a silicone spatula, we fold in gel food coloring to achieve vibrant colors. This method allows for even distribution of color and prevents the dough from becoming overworked.
Shaping the Button Cookies
With the dough colored and ready, we proceed to shape our cookies. We divide the dough into balls about 1 tablespoon (8g) in size. To create the button shape, we use a plastic bottle cap to press divots into the cookies, giving them a flat center and rounded edges.
Creating the Button Indentations
The plastic bottle cap is essential for creating the button indentations. We press it into the center of each cookie, ensuring a light dusting of flour on the cap to prevent sticking.
Making the Button Holes
To create the characteristic button holes, we use a standard plastic straw. By twisting the straw slightly as we press it into the dough, we cleanly remove small circles of dough, creating the holes.
Baking and Finishing Touches
We preheat the oven to 350°F (177°C) and bake the cookies for 8 to 9 minutes, or until the edges are set. Immediately after baking, we re-press the bottle cap into the divot and re-cut the button holes with the straw to maintain the crisp, defined button shape.
- Bake cookies at 350°F (177°C) for 8 to 9 minutes.
- Re-press the button indentation and re-cut holes after baking.
Expert Tips for Perfect Coraline Button Cookies
With our expert tips, you’ll be well on your way to creating perfect Coraline Button Cookies. To start, weighing your ingredients is crucial for consistency, particularly with flour, where even a 10-gram difference can significantly impact texture and spread.
Chilling the dough for at least three hours or overnight dramatically improves handling and maintains the button shape during baking. When working with colored doughs, bake each color separately, as different pigments can affect baking time.
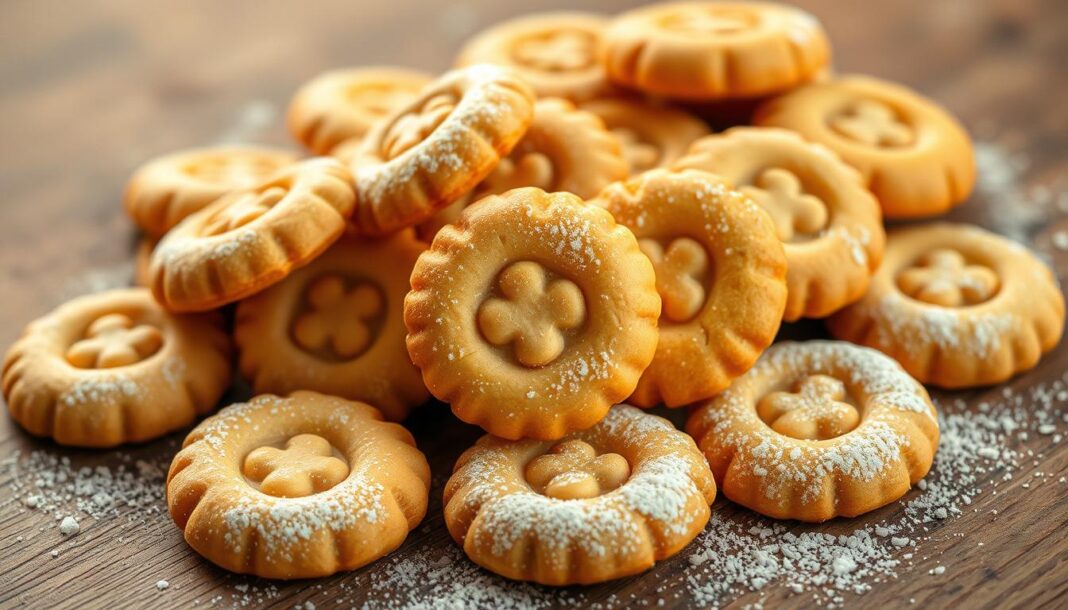
To achieve the iconic button shape, shape the cookie before baking by pressing down the center with a plastic bottle cap and cutting out holes with a straw. Immediately after baking, gently press down on the center again to maintain the shape.
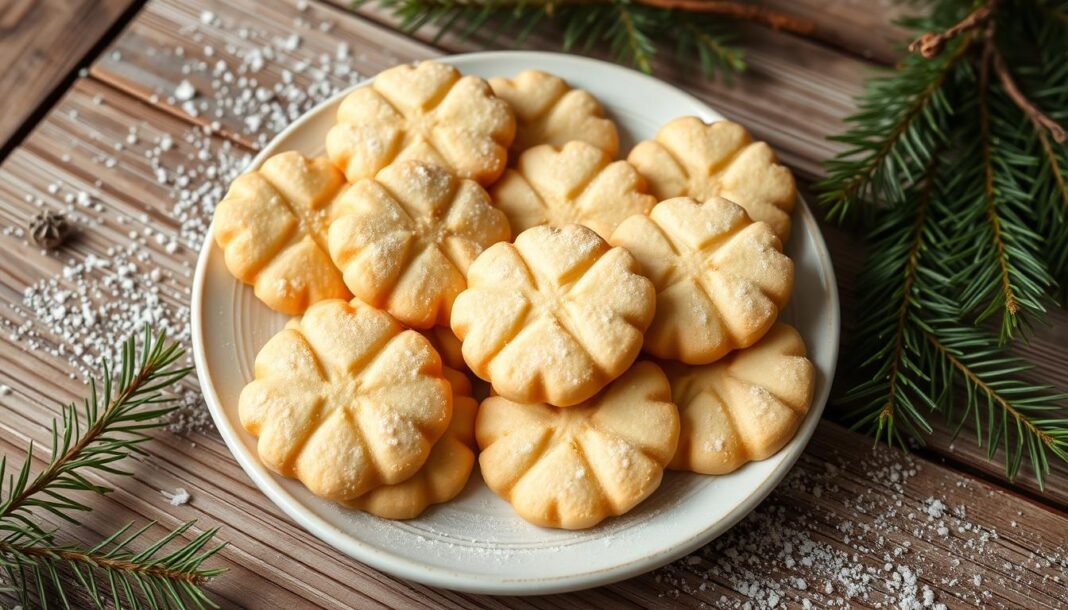
For professional results, use a kitchen scale to portion each cookie to exactly 8 grams. Store the cookies in an airtight container at room temperature for up to 5-6 days or freeze for up to three months. By following these tips, you’ll be able to create beautiful Coraline Button Cookies that are perfect for Halloween.


