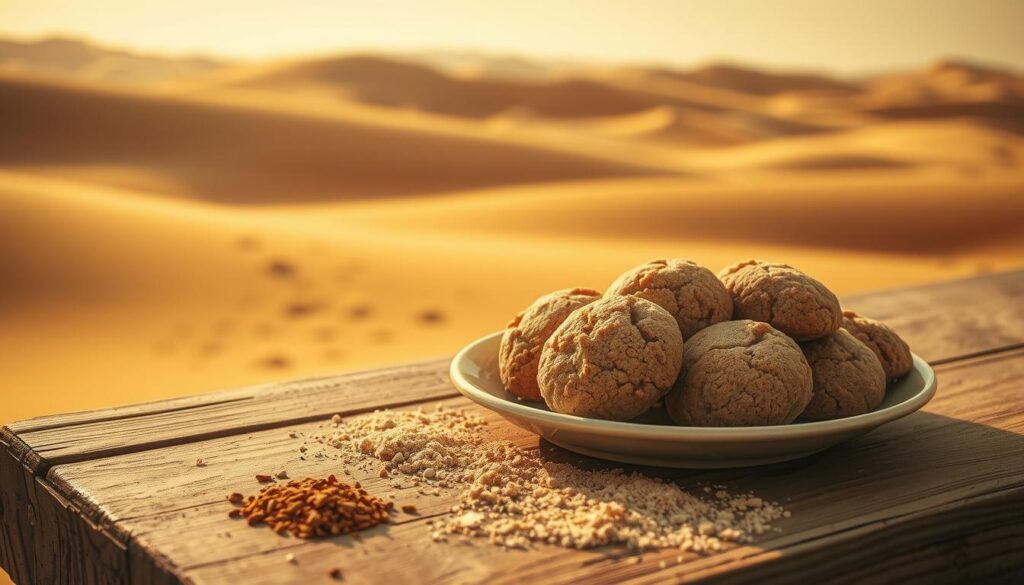
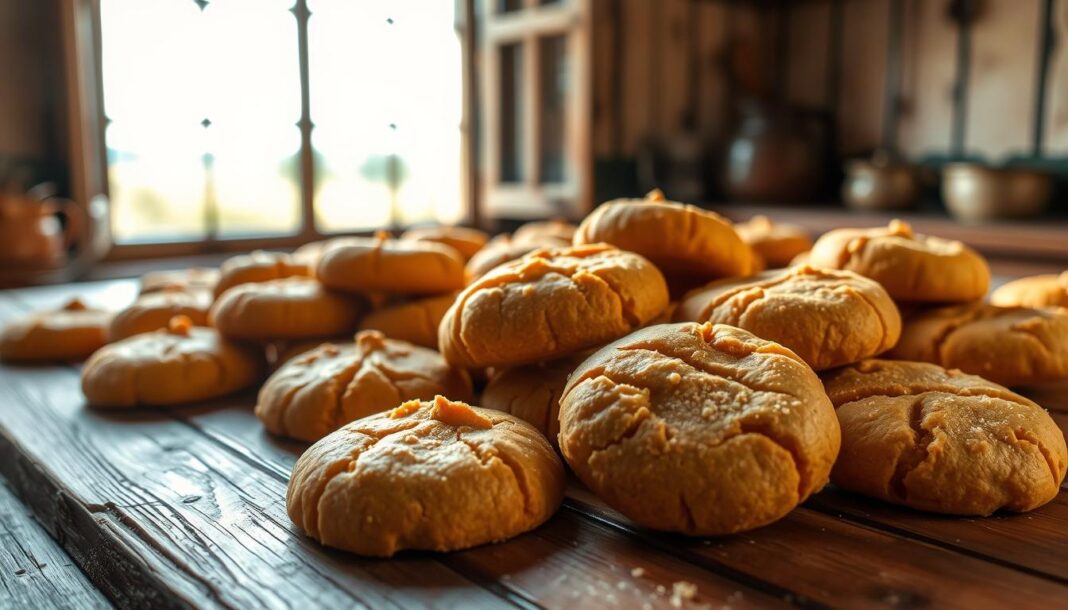
We invite you to explore the delightful world of sand cookies, a treat that has been cherished for generations. These cookies are distinct due to their characteristic sandy, crumbly texture, which sets them apart from other varieties.
At Historical Foods, we aim to empower home cooks with thorough testing and detailed explanations. Sand cookies balance between shortbread and sugar cookies, offering the best qualities of both classic treats. Our comprehensive guide will walk you through traditional baking techniques, ingredient selection, and troubleshooting tips, ensuring you achieve superior results that honor their traditional roots.
By understanding the history and proper technique for making these cookies, you’ll be able to create a delicious recipe that showcases the simplicity and versatility of sand cookies, with a texture reminiscent of sand.
Key Takeaways
- Understand the historical significance of sand cookies across different cultures.
- Learn traditional baking techniques for making sand cookies.
- Discover the importance of ingredient selection for achieving the perfect texture.
- Master troubleshooting tips for common issues in sand cookie baking.
- Explore the versatility of sand cookies in various culinary contexts.
The Origins and History of Sand Cookies
Tracing the roots of sand cookies takes us on a journey through Dutch baking traditions and their evolution in America. Sand cookies, with their characteristic crumbly texture, have a history that spans across cultures and continents.

Dutch Zandkoekjes: The Original Sand Cookies
The origins of sand cookies can be traced back to the Dutch Zandkoekjes, which translates to “sand cookies” in English. These traditional Dutch cookies are essentially shortbread cookies named for their sandy texture that crumbles easily. The Dutch Zandkoekjes are a testament to the simplicity and richness of Dutch baking.
Pennsylvania Dutch Sand Tarts: An American Adaptation
In America, Dutch immigrants brought their traditional shortbread recipe, which evolved into the Pennsylvania Dutch sand tarts. These cookies are thinner and crisper than their Dutch counterparts, often topped with cinnamon sugar or a pecan. The Pennsylvania Dutch version became particularly popular as Christmas and Easter cookies, enjoyed for their unique texture and flavor.
What Makes Sand Cookies So Special
Sand cookies are a masterclass in texture and flavor, combining the best of both worlds. They offer a unique cookie experience that is both familiar and distinct.
The Distinctive Crumbly Texture
The texture of sand cookies is one of their most appealing features. They have a crumbly, “sandy” consistency that breaks into buttery bits with each bite, creating a delightful mouthfeel. This texture is achieved through a specific ratio of fat to flour and minimal liquid, resulting in a characteristic crumb.
Between Shortbread and Sugar Cookies
Sand cookies sit somewhere between shortbread and sugar cookies, combining the rich butteriness of shortbread with the satisfying crispness of a well-made sugar cookie. For more on the history and variations of sand cookies, you can explore sand tart cookies, which share similarities with sand cookies.
The simplicity of ingredients in sand cookies allows the quality of each component to shine through, particularly the butter and vanilla flavors, making them an excellent choice for dunking in coffee or tea.
Essential Ingredients for Traditional Sand Cookies
The simplicity of traditional sand cookies belies the importance of their ingredients. We emphasize that the quality of each component significantly impacts the final result due to the cookies’ simple composition.
The Role of Quality Butter
Quality butter is crucial, as it provides the rich flavor and contributes to the cookie’s texture. The fat content, water content, and flavor of butter directly influence the cookie’s texture and taste.
Unsalted vs. Salted Butter
We recommend using unsalted butter for better control over the final flavor. However, salted butter can be used when a slightly different taste is desired.
Sugar, Flour, and Eggs
Sugar affects the texture and flavor, with soft white sugar (caster sugar) being traditionally used. Flour, typically all-purpose, influences the cookie’s structure and crumb due to its protein content. An egg yolk adds richness and helps bind the dough.
Vanilla and Other Flavorings
Vanilla sugar adds depth of flavor. Beyond vanilla, subtle additions like almond extract or citrus zest can complement the buttery base without overwhelming it, enhancing the overall flavor profile.
Perfect Sand Cookies Recipe
Baking sand cookies to perfection involves understanding the intricacies of the dough preparation process. To achieve the ideal texture and flavor, we must carefully follow a tried-and-tested recipe.
Preparing Your Dough
To start, we cream butter and sugar together with an electric mixer until the mixture is pale and fluffy. This step is crucial for incorporating air and developing the cookies’ texture.
Creaming Butter and Sugar
The process of creaming butter and sugar until it becomes light and fluffy is essential. It ensures that the cookies will have a tender and crumbly texture.
Adding Dry Ingredients
Next, we add an egg yolk and mix well, followed by the dry ingredients, including flour and salt. It’s essential to avoid overmixing at this stage to prevent toughening the dough.
Chilling and Rolling Techniques
After preparing the dough, we wrap it in plastic wrap and chill it for at least an hour. This step allows the flour to hydrate and the butter to solidify, making the dough easier to handle.
Working with Cold Dough
When rolling out the chilled dough, it’s crucial to work on a floured surface to prevent sticking. We aim for a thickness between 1/16 and 1/8 inch for the perfect sand cookies.
Baking Times and Temperatures
The cookies are baked in a preheated oven at 350°F for about 16 minutes, or until the edges are lightly brown. It’s essential to keep an eye on the cookies during the baking time to achieve the perfect bake.
Signs of Perfectly Baked Sand Cookies
Perfectly baked sand cookies will be lightly browned around the edges and will crisp up as they cool on the sheet. We then transfer them to a wire rack to cool completely.
Troubleshooting and Expert Tips
Mastering sand cookies requires more than just a good recipe; it demands a grasp of troubleshooting techniques. We address common challenges bakers face, from preventing dough from sticking to achieving the ideal texture.
Preventing Spreading and Sticking
To prevent sand cookie dough from sticking, roll it between two sheets of parchment paper. This simple technique ensures the dough doesn’t adhere to the rolling surface or pin.
Using Parchment Paper
Using parchment paper effectively is crucial. It not only prevents sticking but also makes cleanup easier. Line your sheet with parchment paper for best results.
Achieving the Ideal Thickness and Texture
Maintaining the right cookie thickness is key. Chill the dough for at least an hour before rolling it out. If the dough becomes too soft, chill it in the freezer for 10 mins.
The Importance of Proper Chilling
Proper chilling is essential for controlling the spread of cookies during baking. Monitor the time and temperature to achieve perfectly baked cookies.
Delicious Variations and Serving Suggestions
As we conclude our journey through the world of sand cookies, it’s clear that their versatility is a key factor in their enduring popularity. We can transform the basic sand cookie recipe into countless variations to suit any occasion or taste preference. By adding different ingredients such as cocoa powder, dried fruit, or nuts, we can create unique flavor profiles. Toppings like cinnamon sugar or pecans add an extra layer of flavor and texture. Whether you’re making chocolate sand cookies, fruit-studded versions, or spiced adaptations, the possibilities are endless. Proper storage in airtight containers maintains their crisp texture, and pairing them with complementary beverages like afternoon tea or dessert coffees enhances the overall experience.


