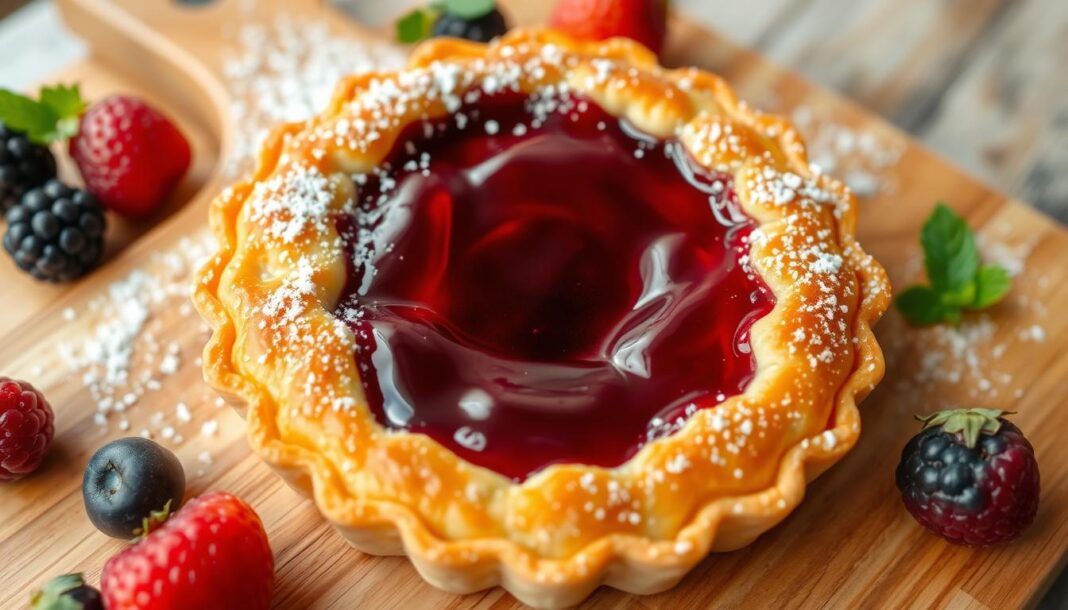
We invite you to explore the delightful world of jelly tarts, a versatile pastry that combines a flaky, buttery crust with sweet, vibrant jelly filling.
Understanding the difference between jelly and jam is crucial – jelly uses strained fruit juice for a smooth consistency, while jam contains fruit pieces.
This comprehensive recipe guide will walk you through creating these delectable tarts from scratch, with options for both homemade and store-bought jelly fillings.
Key Takeaways
- Learn the difference between jelly and jam for the perfect filling.
- Master the art of creating a flaky, buttery crust.
- Discover the versatility of jelly tarts in various cuisines.
- Follow a step-by-step guide for making jelly tarts at home.
- Explore options for homemade and store-bought jelly fillings.
The Perfect Homemade Jelly Tart
Jelly tarts, with their delicate crust and sweet jelly filling, represent a timeless pastry tradition worth mastering. We appreciate the simplicity and elegance of a well-made jelly tart, making it a perfect dessert for any occasion.
What Makes a Great Jelly Tart
A great jelly tart is characterized by its flaky crust and a sweet and tangy jelly filling. The balance between the sugar in the jelly and the savory flavor of the crust is crucial. Using quality ingredients and mastering the dough preparation are key to achieving this balance.
The History and Inspiration Behind Jelly Tarts
Jelly tarts draw inspiration from various cultural pastry traditions. The concept of preserving seasonal fruits in jellies and jams dates back centuries. Regional variations of filled pastries exist across culinary traditions, from European fruit tarts to Asian bean paste-filled pastries. The modern jelly tart is an accessible home baking tradition that combines simple ingredients with techniques that can be mastered by home cooks over time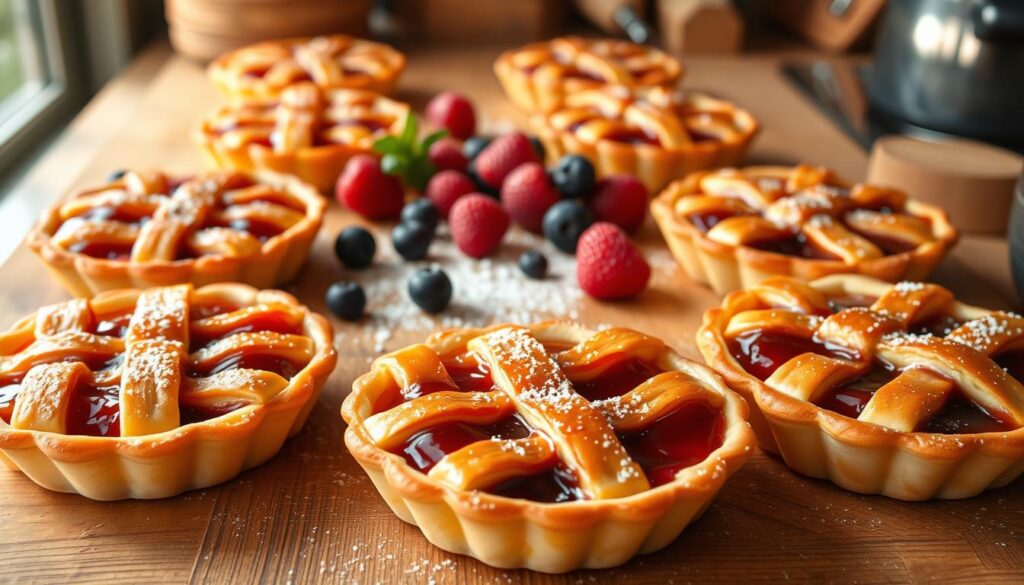
Essential Ingredients for Delicious Jelly Tarts
Creating the perfect jelly tart begins with understanding the essential ingredients that make up this delightful dessert. The quality of these ingredients directly impacts the final product’s taste, texture, and appearance.
Crust Ingredients and Preparation
The crust of a jelly tart is typically made from a mixture of flour, butter, sugar, and salt. To prepare the crust, combine 2 cups of flour, 1/2 cup of cold butter, 1/4 cup of white sugar, and a pinch of salt in a bowl. Mix these ingredients until they form a cohesive dough, then chill before rolling out.
Jelly Filling Options
The jelly filling is where you can get creative with different flavors. Here are a few options:
-
Classic Fruit Jellies
Made with traditional fruits like strawberries and raspberries, these jellies offer a timeless taste.
-
Persimmon Jelly
For a unique twist, persimmon jelly adds a sweet and tangy flavor profile.
-
Dragon Berry Jelly
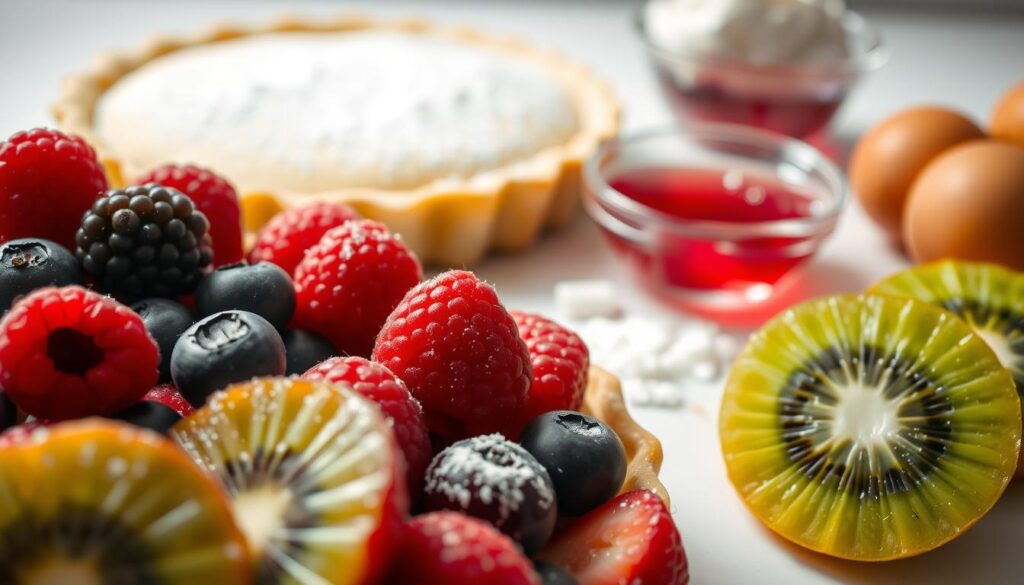
This innovative jelly combines dragon fruit with strawberries and raspberries, creating a visually striking filling with a balanced sweet-tart flavor. It requires careful straining to achieve the clear consistency characteristic of proper jelly. The resulting ruby-red color creates dramatic contrast against the golden crust, making it perfect for bakers looking to experiment with exotic fruits. Visit Historical Foods for more inspiration on unique jelly recipes.
Step-by-Step Jelly Tart Preparation
In this section, we’ll walk you through the process of creating the perfect jelly tart, from making the crust to baking the final product. With these detailed steps, you’ll be able to achieve professional-quality tarts in the comfort of your own kitchen.
Making the Perfect Flaky Crust
To make the flaky crust, start by combining the cold butter and flour in a bowl. Use a pastry blender or your fingertips to work the butter into the flour until the mixture resembles coarse crumbs. Gradually add ice-cold water, stirring with a fork until the dough comes together in a ball. Wrap the dough in plastic wrap and refrigerate for at least 30 minutes in the fridge.
Preparing Your Homemade Jelly Filling
For the jelly filling, combine your chosen fruit, sugar, and a splash of water in a saucepan. Bring the mixture to a boil, then reduce the heat and simmer until the fruit is tender. Strain the mixture through a fine-mesh sieve into a bowl, pressing on the solids to extract as much juice as possible. Measure out about 1/2 cup of the juice for each tart.
Assembling and Baking Your Jelly Tarts
On a lightly floured surface, roll out the chilled dough to a thickness of about 1/8 inch. Cut out circles of dough using a cookie cutter or the rim of a glass. Place a spoonful of the jelly filling in the center of each circle, leaving a 1/2 inch border around the edges. Fold the dough over the filling to form a triangle, pressing the edges to seal. Brush the tops with a little egg wash and sprinkle with coarse sugar. Place the tarts on a baking tray lined with parchment paper and bake in a preheated oven at 375°F (190°C) until golden.
- Cutting uniform circles from your rolled dough ensures even baking and consistent appearance across your batch of tarts.
- Placing the jelly in the center of each dough circle requires restraint – overfilling leads to leakage during baking.
- Sprinkling the crust with coarse sugar adds both visual appeal and textural contrast to the finished tarts.
Expert Tips for Jelly Tart Success
With these expert tips, you’ll be well on your way to creating exquisite jelly tarts that will impress even the most discerning palates. To achieve success with your tarts, it’s crucial to focus on a few key areas.
First, temperature control is vital. Keeping your ingredients cold and maintaining the proper oven heat will significantly impact the final product. Using high-quality butter, such as European-style with higher fat content, will also enhance the flavor and texture of your tart crust.
Other essential tips include handling the dough minimally to prevent it from becoming tough, blind baking the crust to avoid soggy bottoms, and creating a small vent to allow steam to escape. Experimenting with complementary flavors, like adding warm spices to the crust or layering peanut butter under the jam, can also elevate your jelly tarts.
Additionally, consider the size of your tarts, as it affects baking time and the filling-to-crust ratio. Cooling your tarts completely on a wire rack before storing ensures the filling sets properly and the crust remains crisp. By following these expert tips, you’ll be able to create jelly tarts that are both delicious and visually appealing.
